
If you’ve been following me lately, you already know: the paper chains have officially taken over my house. 😂
What started as a fun idea for Olive’s birthday quickly turned into me making paper chains for HOURS—and then trying to figure out where in the world I was going to hide them all.
But the number one question I keep getting is:
“How do you make your paper chains look so thick, chunky, and clean?”
And the answer is surprisingly simple: the paper and the width of your strips make ALL the difference.
We’ve all made the classic construction-paper chains. You cut some strips, loop them together, and suddenly you’re back in elementary school making a Christmas countdown.
These are different.
I wanted a decorative paper chain that felt substantial enough to use as actual party or holiday decor. After trying different papers, sizes, and even the convenient pre-cut kits, I finally figured out what gives them that thicker, cleaner look.
Here’s exactly how I make them.
What Makes These Paper Chains Different?
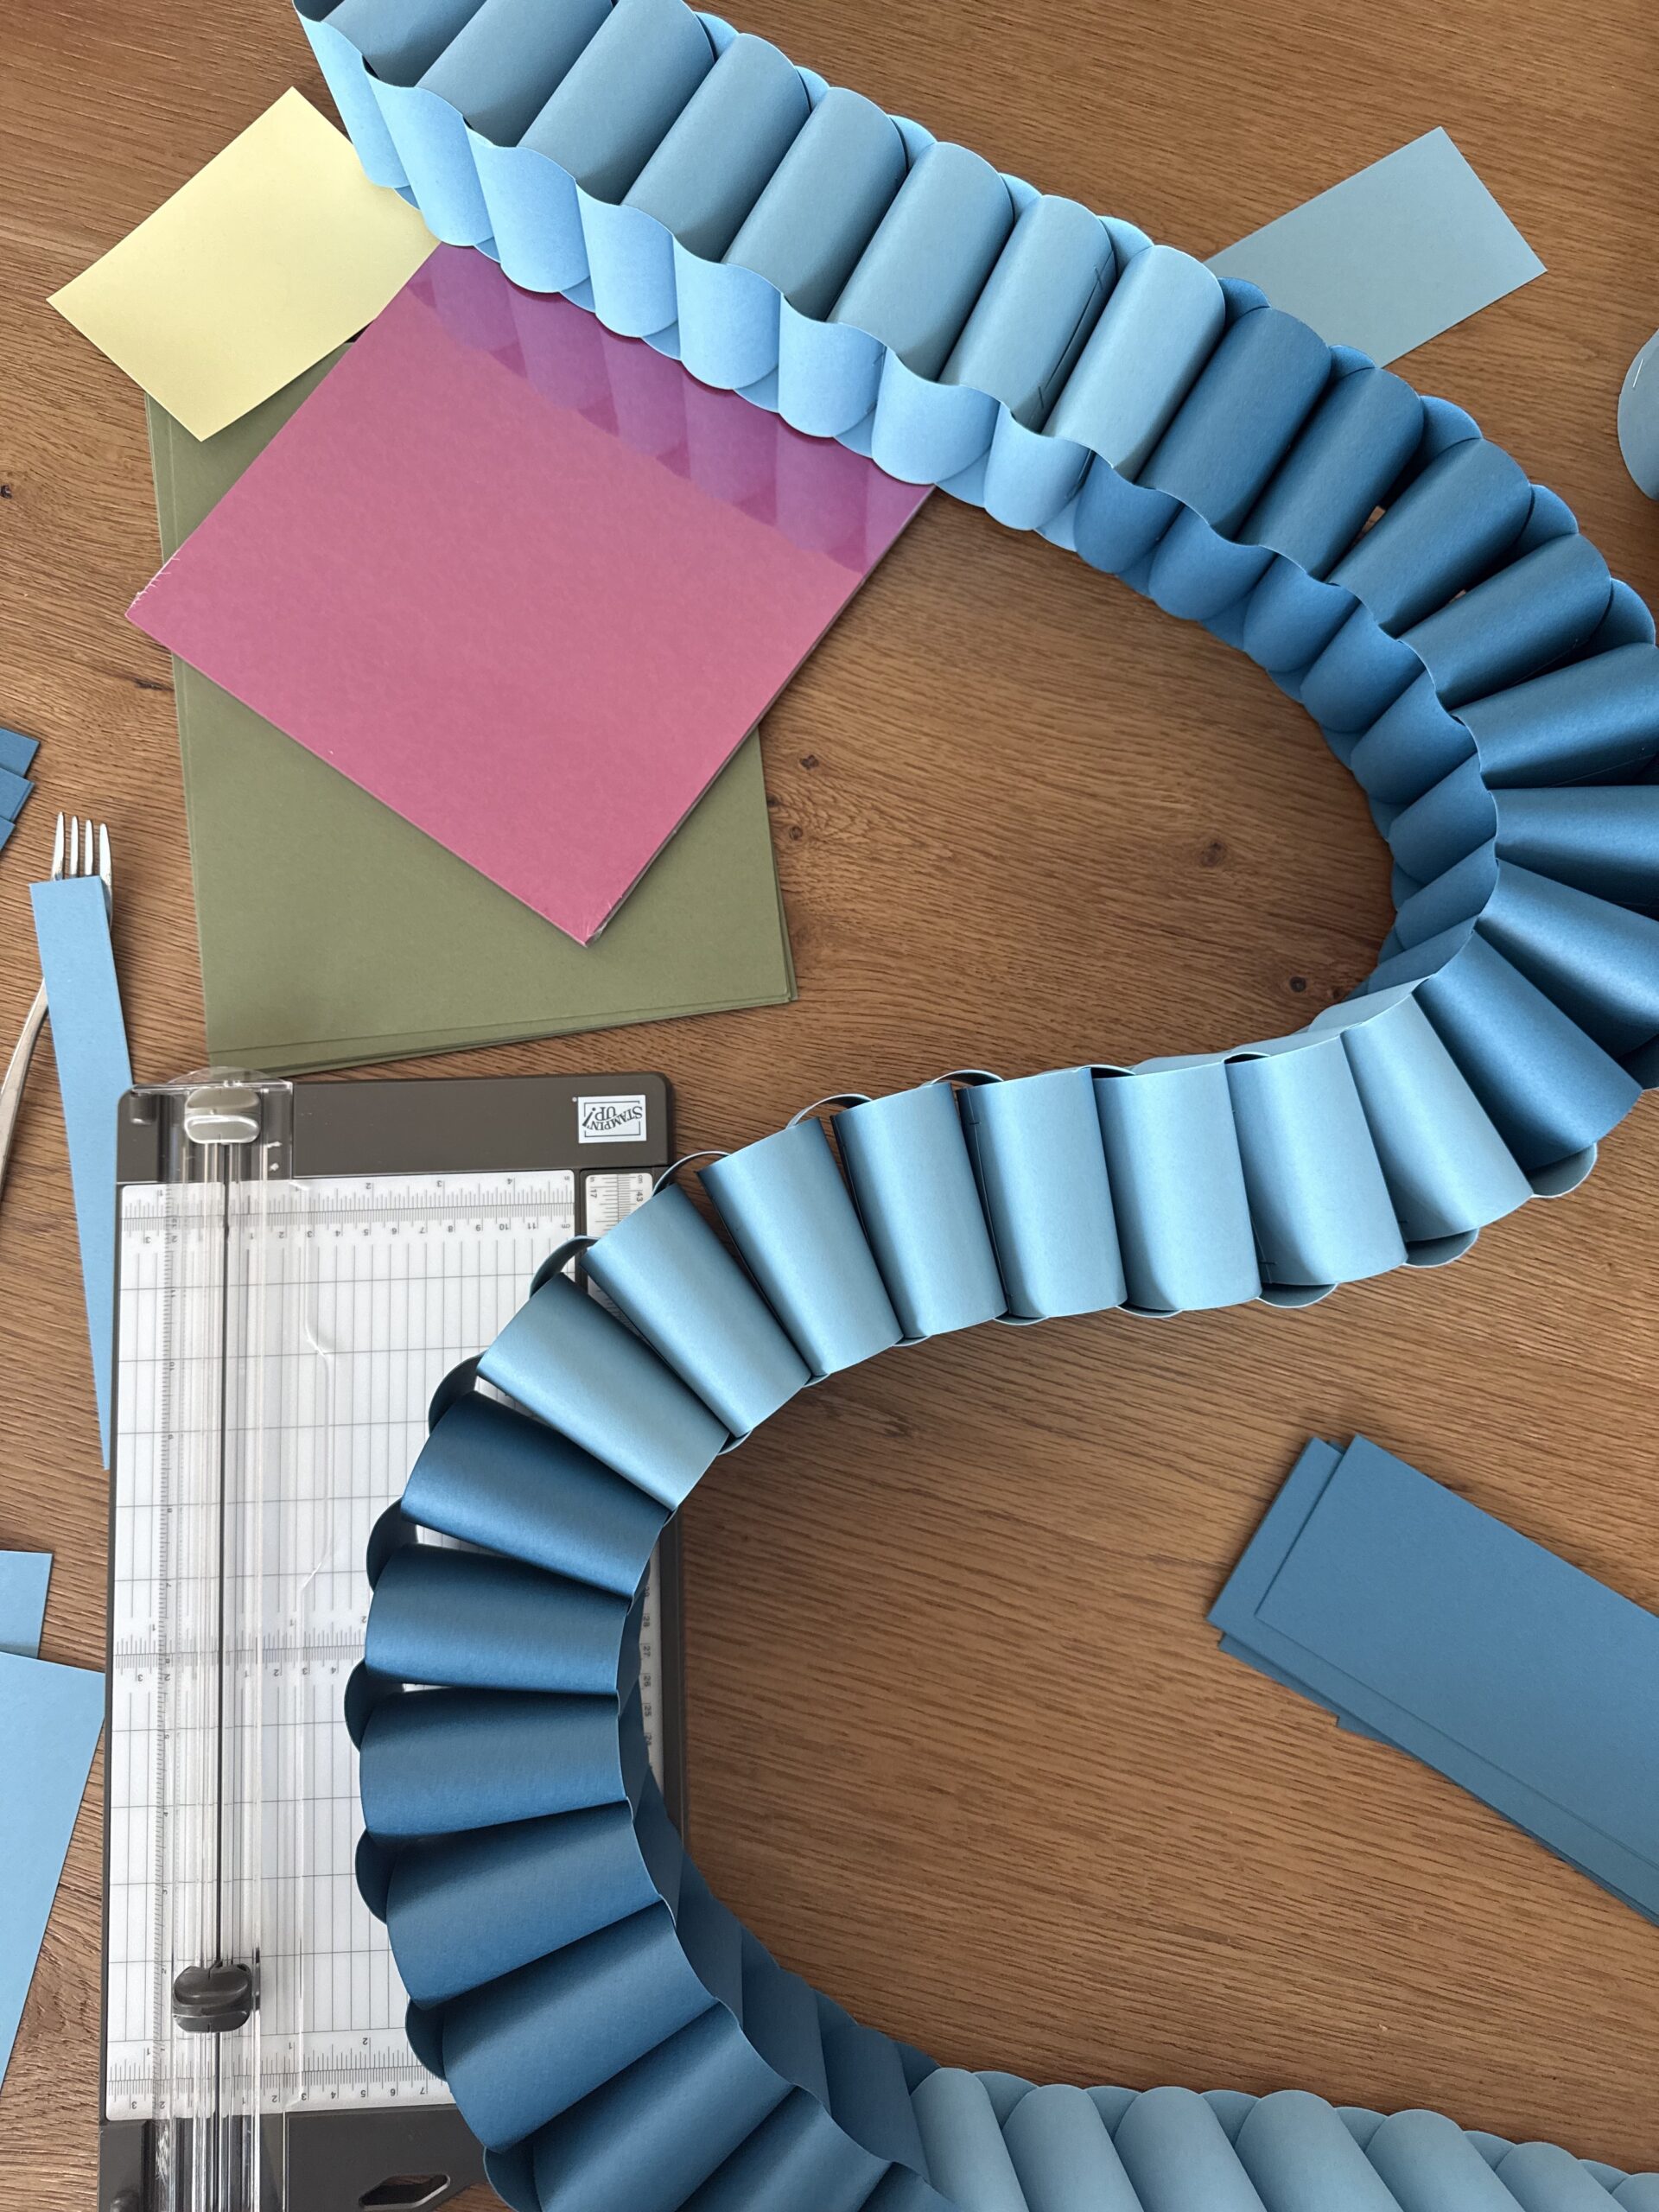
There really isn’t some secret paper-chain technique happening over here. The basic process is exactly the same one we’ve all been doing since we were kids.
The difference is in the materials and measurements.
For that thick, chunky look, I use high-quality cardstock instead of thin construction paper and cut my strips much wider than the traditional paper-chain strips.
My two favorite sizes are:
2 3/4″ x 8 1/2″
or
3″ x 8 1/2″
That extra width creates a much more substantial loop. Combine that with sturdy cardstock, and the finished chain holds its shape instead of looking thin or floppy.
THAT is the secret.
The Paper Makes a HUGE Difference
If there’s one thing I want you to take away from this entire DIY paper chain tutorial, it’s this:
USE GOOD PAPER.
I’ve tried the pre-cut paper chain kits from Amazon, and I completely understand why people buy them. Everything is already cut, the colors are coordinated, and you can sit down and immediately start assembling.
Convenient? Absolutely.
But after making my own with quality cardstock, I could really see the difference.
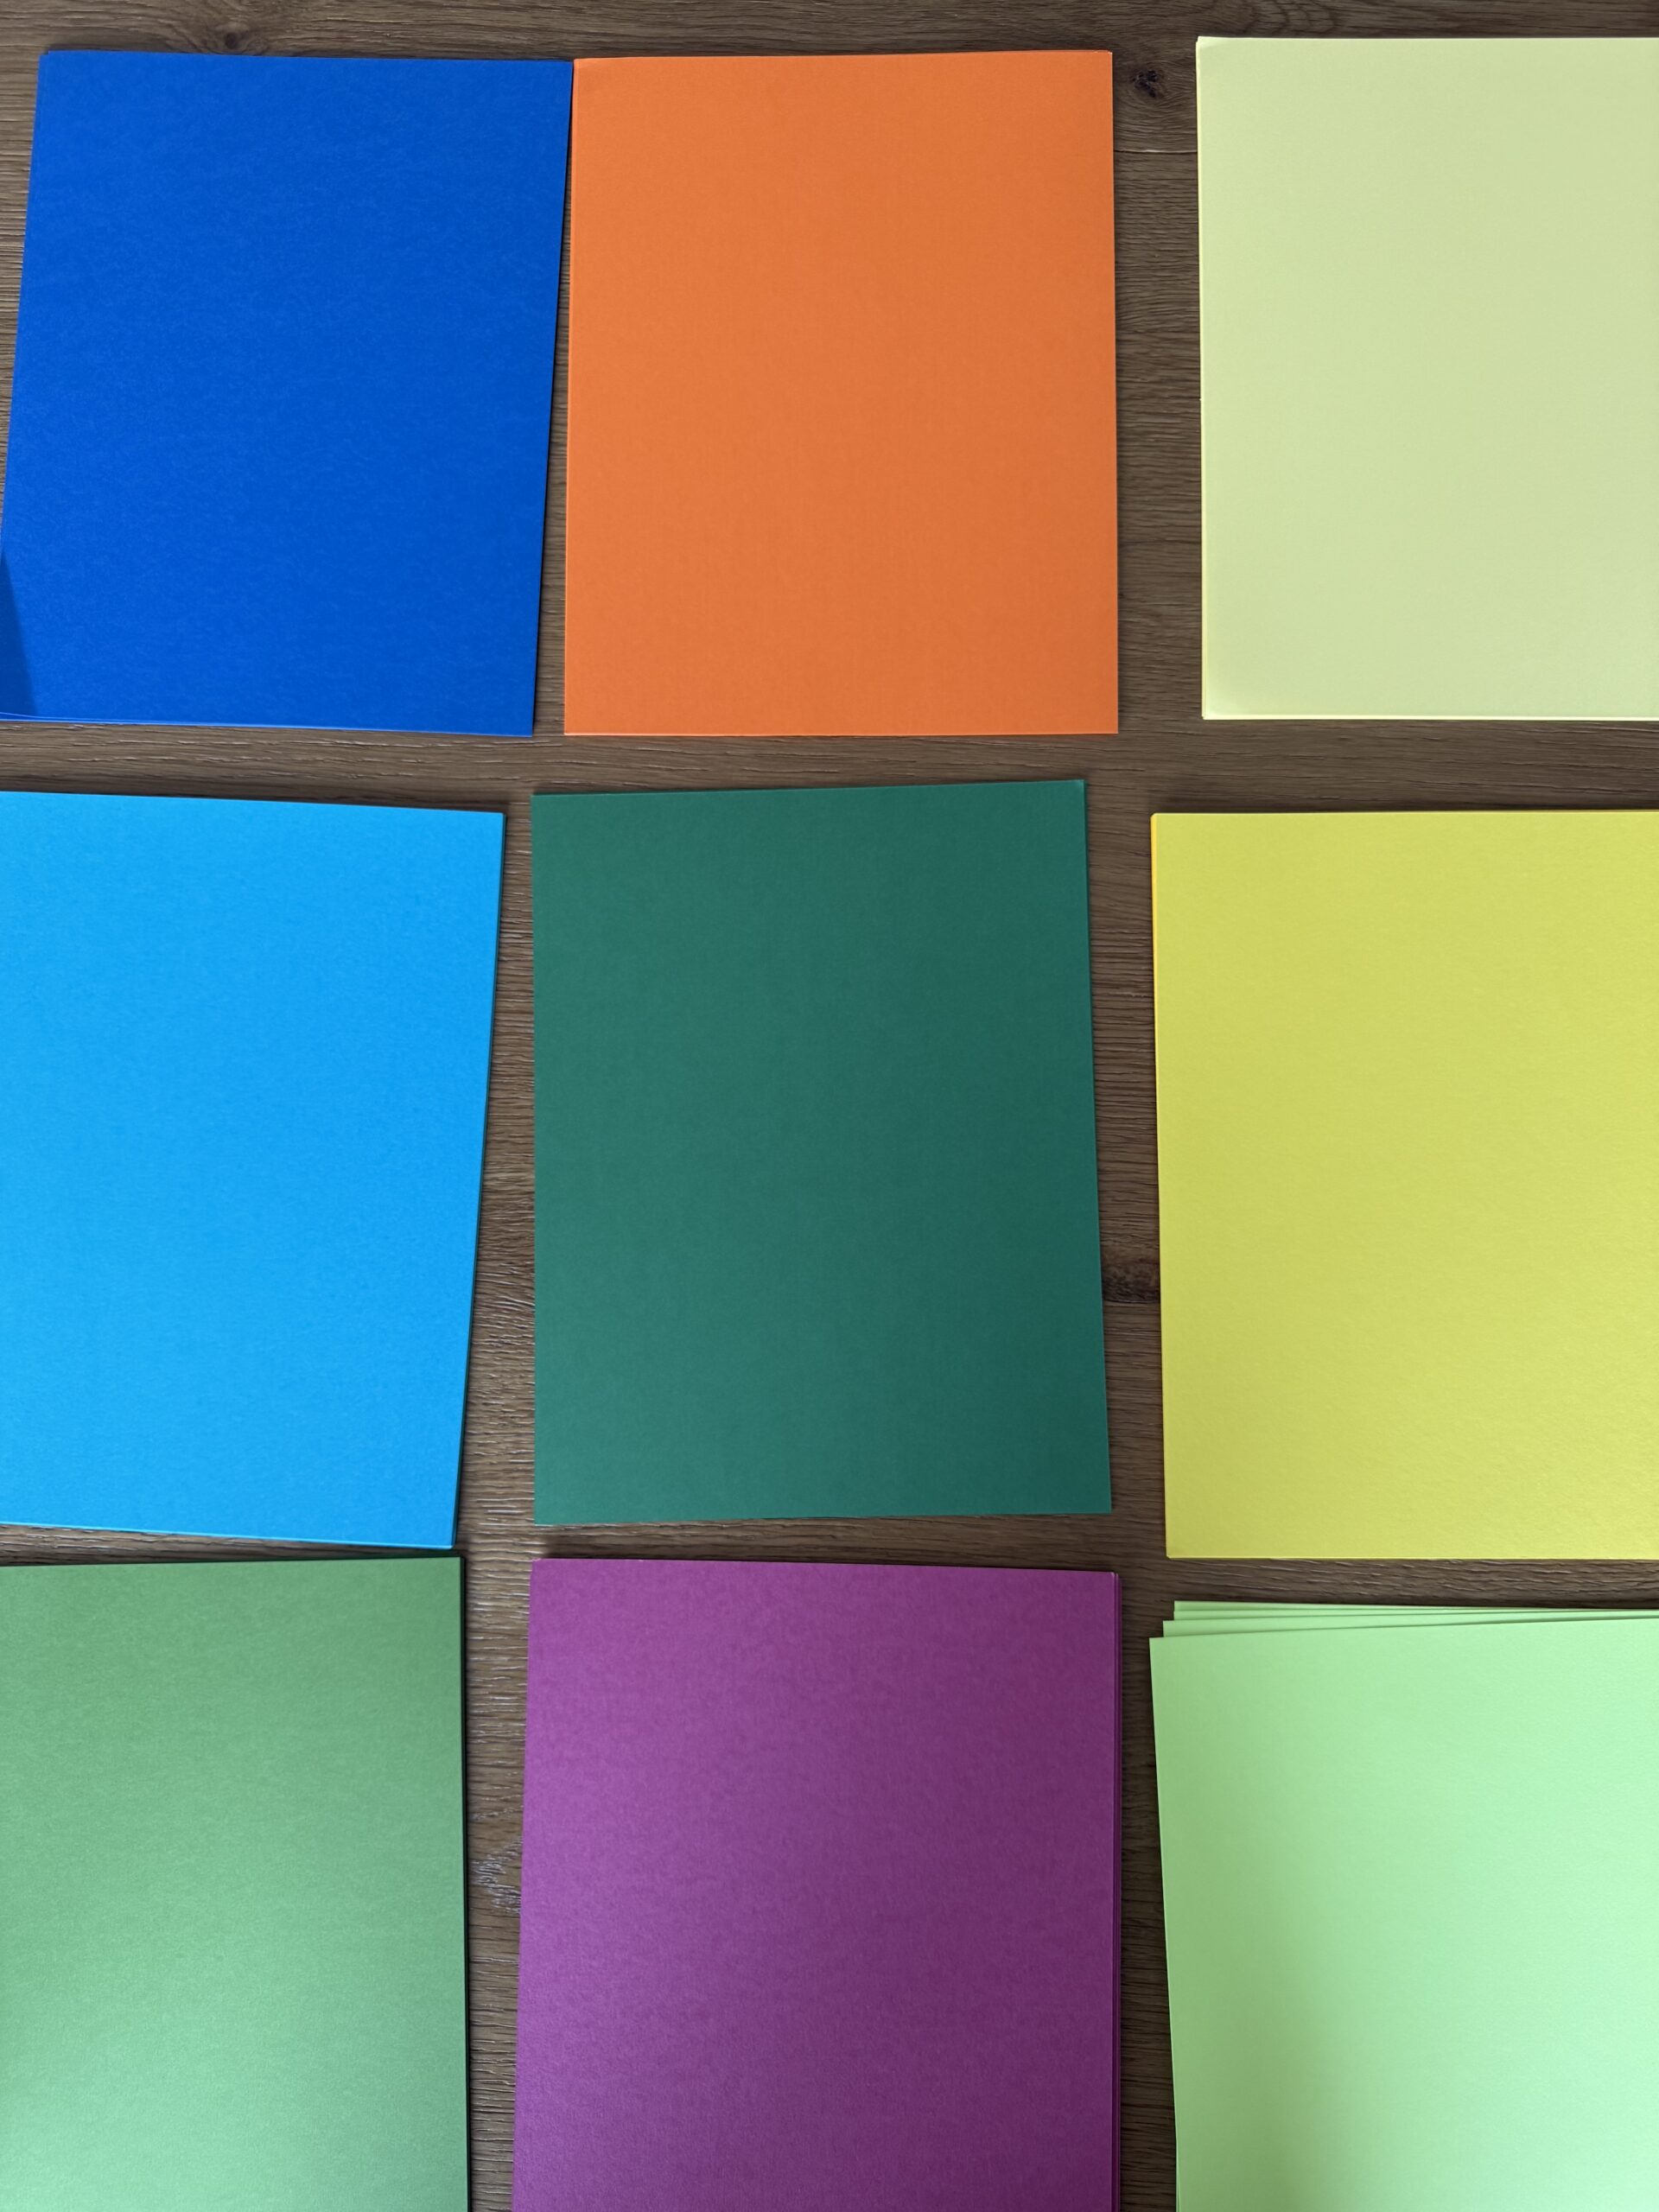
The thicker cardstock gives each link structure. The loops stay rounder, the edges look cleaner, and the entire chain feels more like decor instead of a kids’ craft project.
My favorite is this Stampin’ Up! cardstock. There are so many colors to choose from, which also makes it really easy to customize your chains for birthdays, holidays, parties, or whatever else you’re decorating.
And yes, cardstock is going to take a little more work because you have to cut it yourself.
But I think the finished product is 100% worth it.
What You Need to Make a Paper Chain
You really only need a few supplies: quality cardstock, a good paper trimmer, and a stapler.
For paper, I use Stampin’ Up! Cardstock. To get those really straight, consistent cuts, I use this Stampin’ Up! Paper Trimmer.
If you’d rather skip cutting everything yourself, this Amazon Paper Chain Kit is the type of pre-cut option I’ve tried. It’s definitely convenient, but if you’re trying to recreate that thicker, chunkier look of my chains, cutting your own cardstock is the way I would go.
How to Make a Thick, Chunky Paper Chain
Step 1: Choose Your Colors
This might actually be the hardest part.
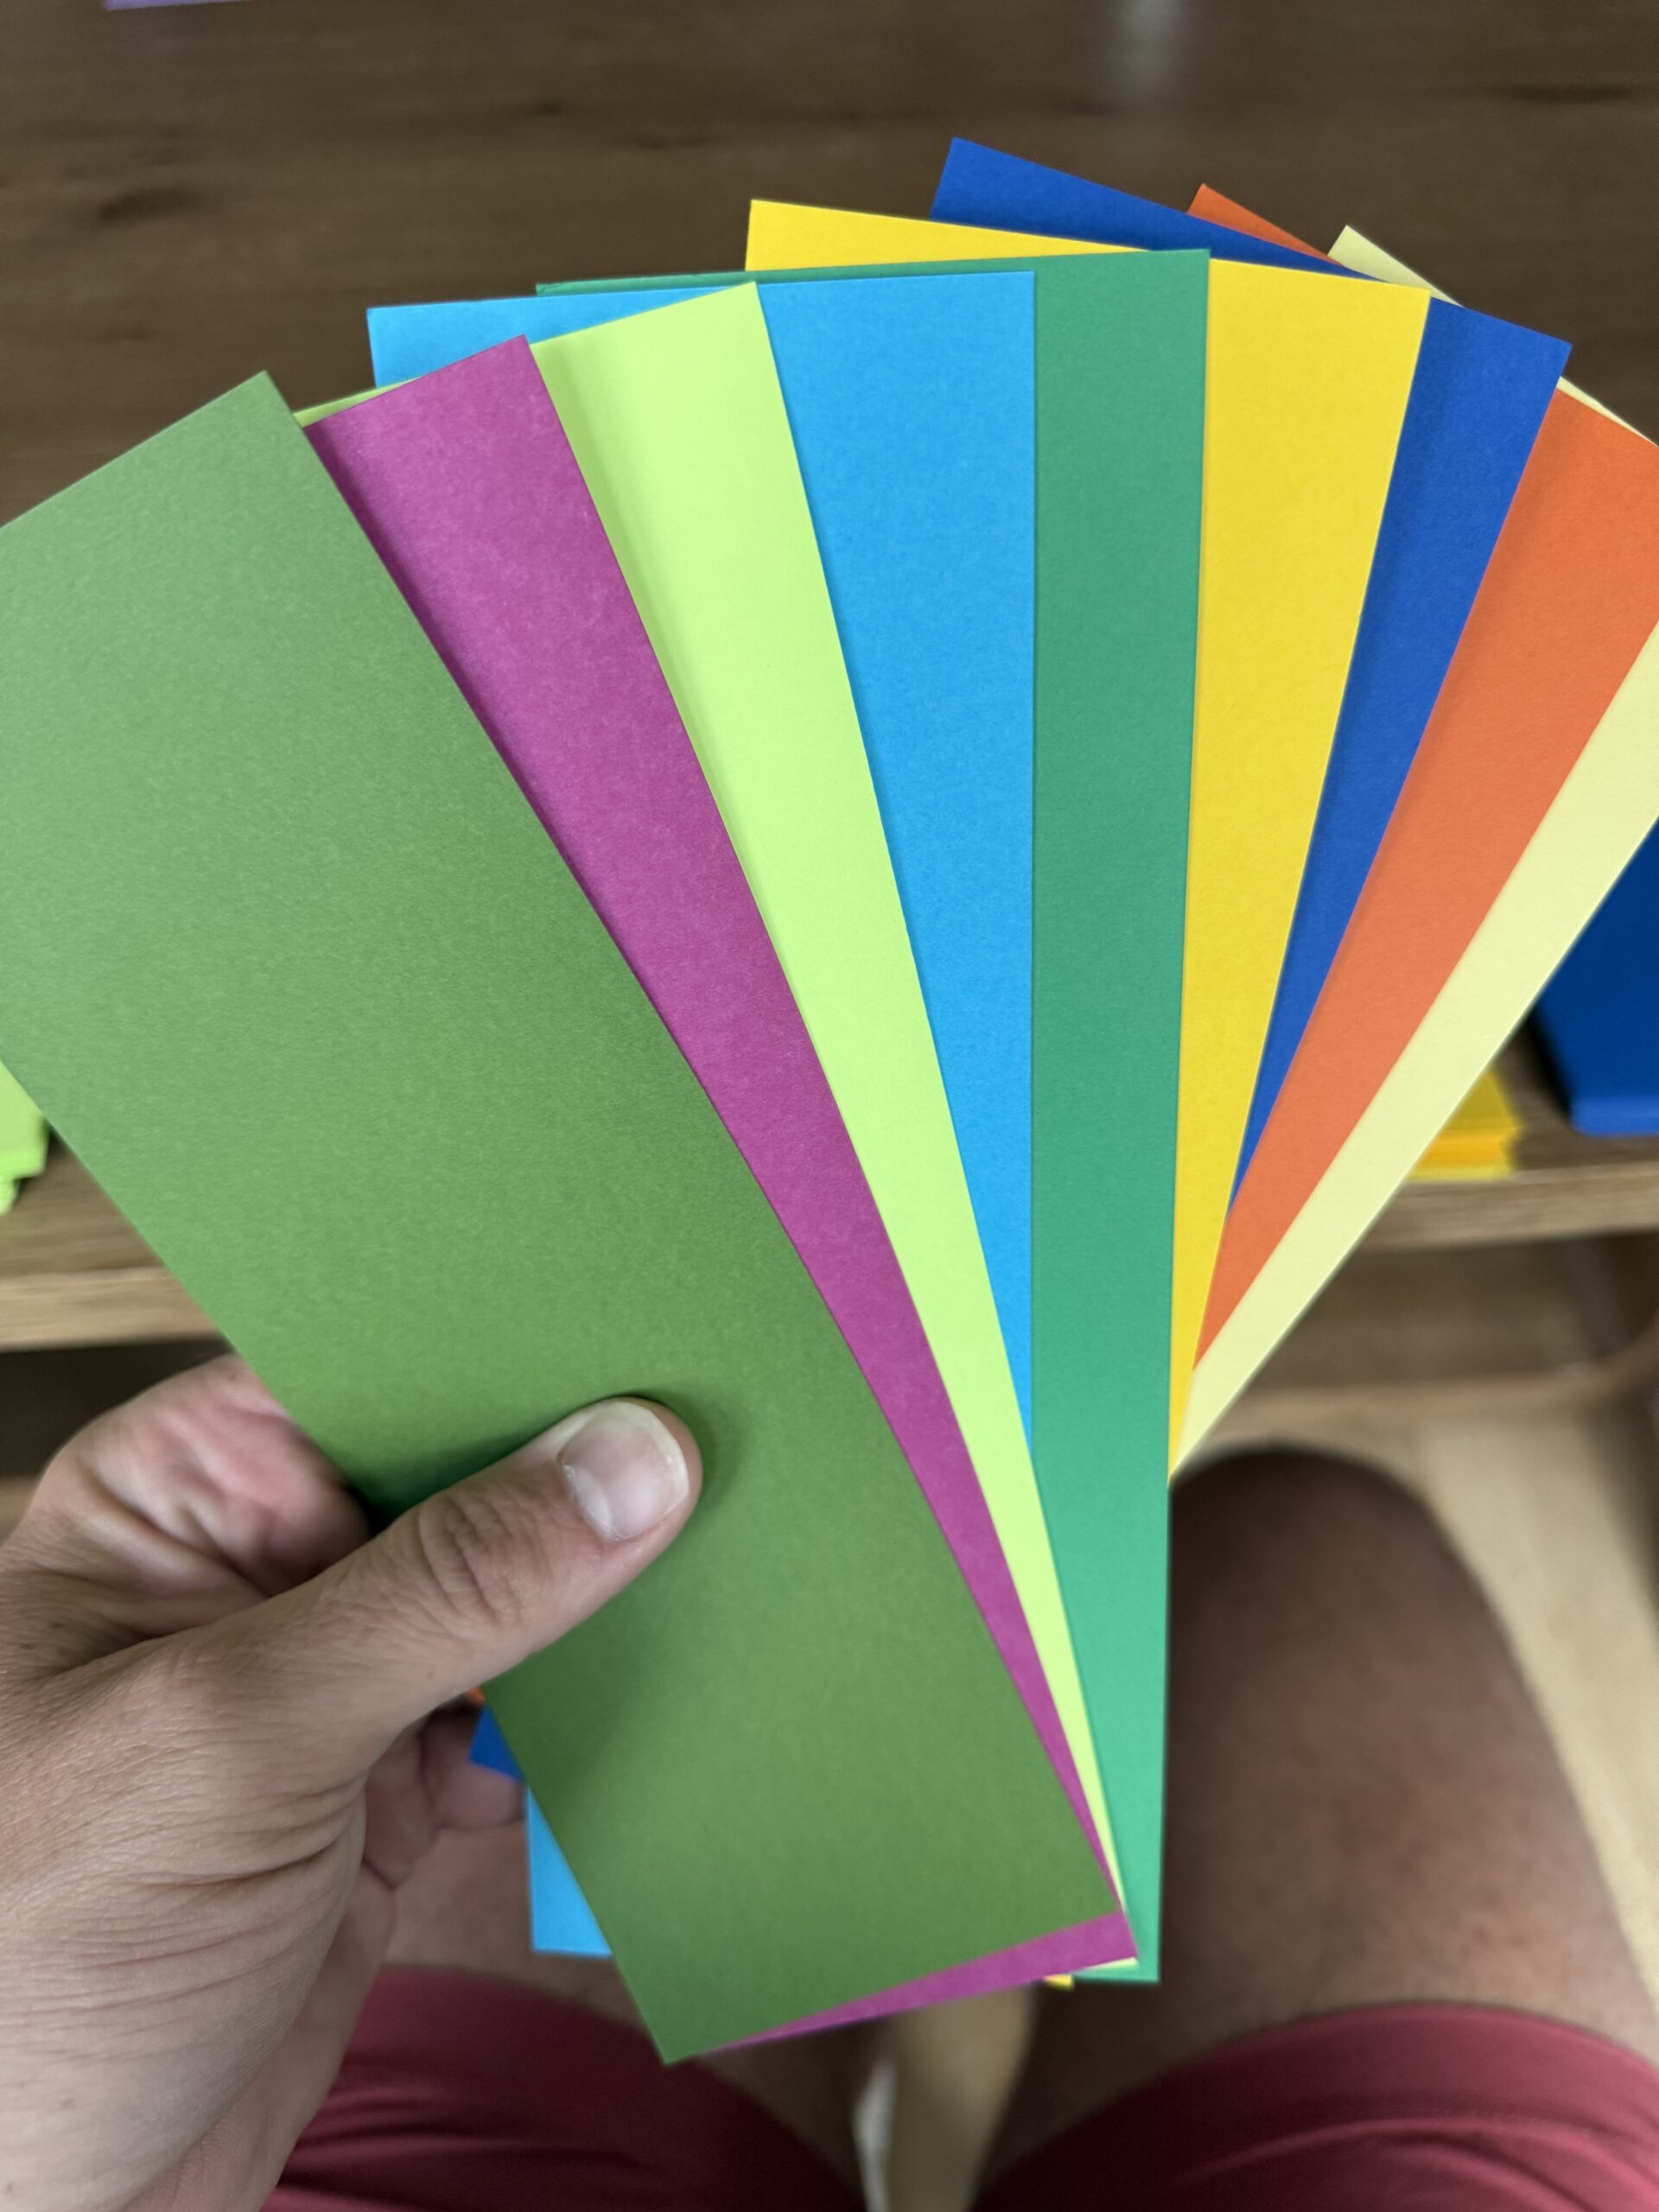
Decide what colors you want before you start cutting. You can alternate two colors, use several coordinating shades, create a pattern, or just mix everything together as you go.
For Olive’s birthday, I loved using different colors together because once you have a really long chain, all those colors become part of the decor.
Step 2: Cut Your Cardstock
Using your paper trimmer, cut your cardstock into strips measuring either:
2 3/4″ x 8 1/2″
OR
3″ x 8 1/2″
Both sizes work beautifully.
The 2 3/4-inch strips are slightly smaller while still giving you that chunky look. The 3-inch strips make an even wider, more substantial chain.
You can also mix the widths throughout your chain if you want a little variation.
Step 3: Cut A LOT of Strips
And I mean…a lot. 😂
The number of strips you need completely depends on how long you want your finished chain.
One strip = one link.
So clearly, the more links you make, the longer your chain will be.
My advice? Think about where you’re actually putting the chain BEFORE you make it ridiculously long.
Learn from me.
Step 4: Make Your First Loop
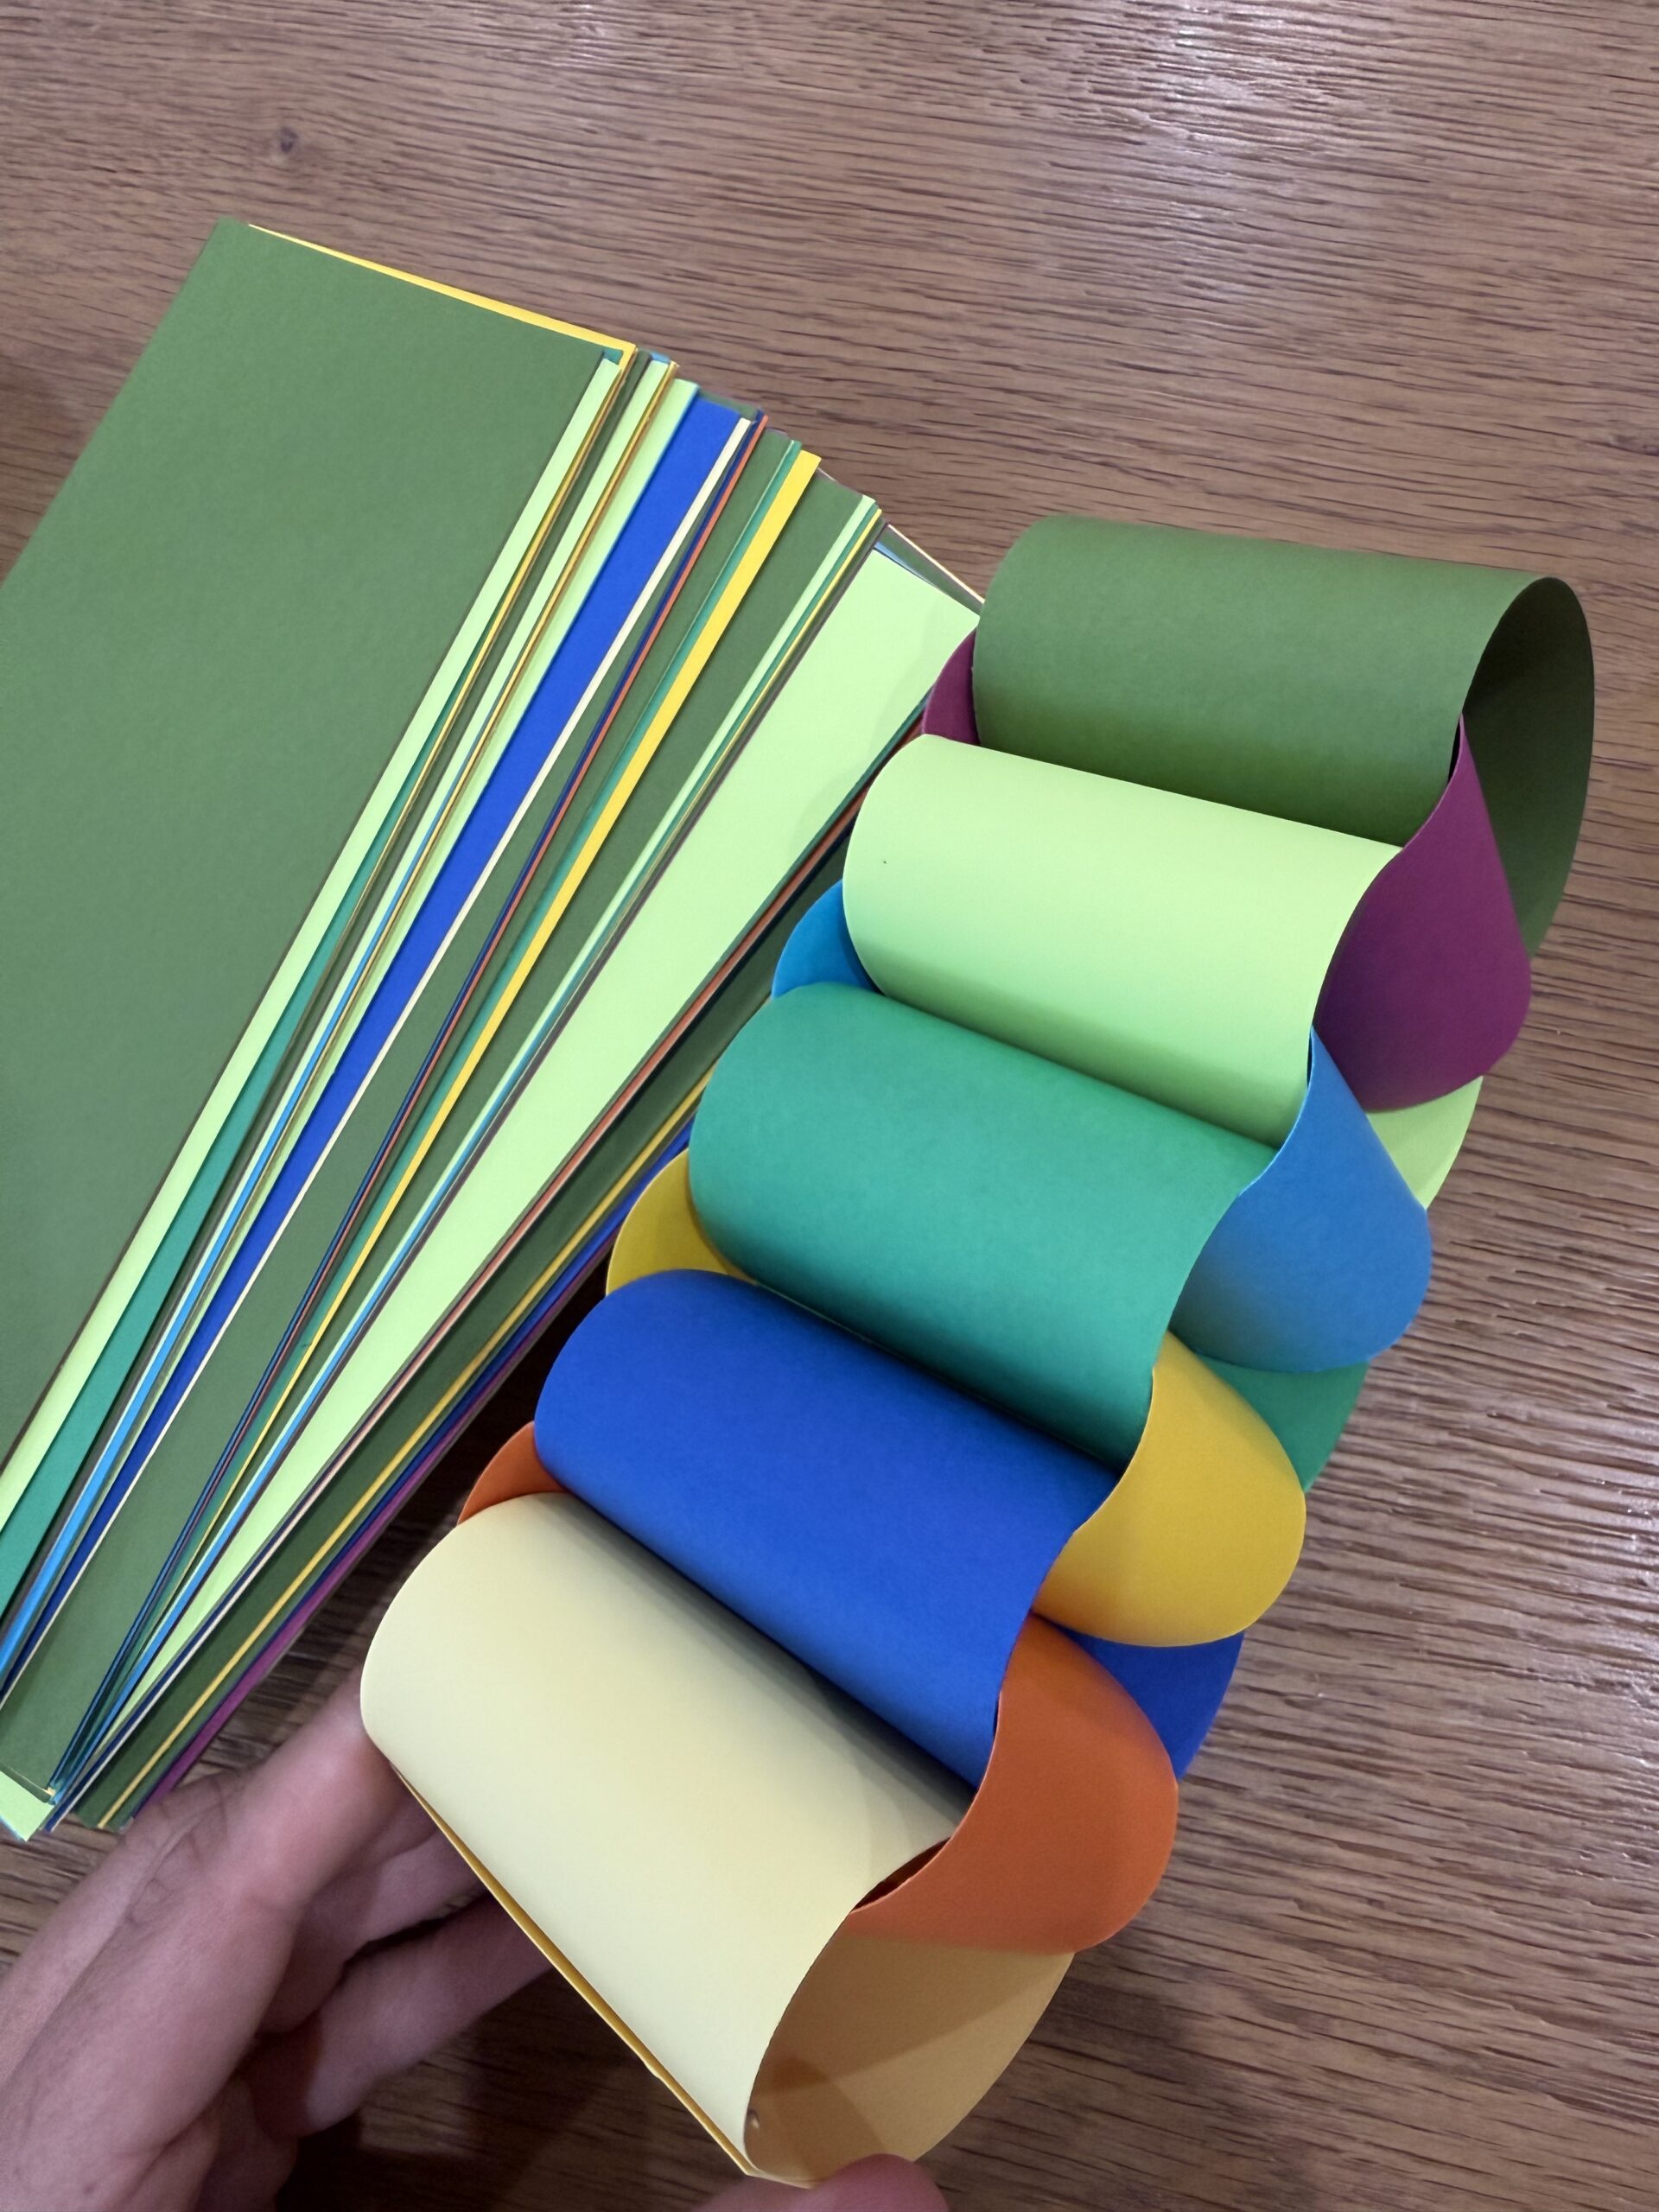
Take one strip of cardstock and bring the two short ends together to form a circle.
Overlap the ends slightly and staple them together.
That’s your first link!
I like using a stapler rather than glue because it’s fast, secure, and you’re barely going to notice the staple once the entire chain is together.
Step 5: Add Your Second Link
Take your next cardstock strip and slide it through the center of your first loop.
Bring the two ends of that strip together, slightly overlap them, and staple.
You now have two connected links.
Look at you. Basically a professional paper-chain maker already.
Step 6: Keep Going
Thread another strip through the last loop, bring the ends together, and staple.
Then do it again.
And again.
And again.
And…you get the idea. 😂
Continue adding links until your chain reaches the length you want.
If you’re using multiple colors, you can follow a specific repeating pattern or just grab colors as you go. I actually love when they don’t feel TOO perfect.
How Long Does It Take to Make a Paper Chain?
Here’s the part nobody tells you when you see these all over Instagram:
They take some time.
The longest paper chain I made took me at least five hours.
Granted, that thing was LONG.
The actual process isn’t difficult at all. It’s just repetitive. Once all your paper is cut, you can sit down, turn on a movie or audiobook, and start stapling.
And I actually find that part kind of relaxing.
Until you realize you’ve made a chain long enough to decorate a small shopping mall and have nowhere to hide it from your daughter before her birthday.
Hypothetically speaking, of course.
Should You Buy a Paper Chain Kit or Make Your Own?
I’ve done both.
If your biggest priority is convenience, grab the pre-cut Amazon paper chain kit. There’s something very nice about opening a package and having everything ready to assemble.
But if you’re looking at my chains and specifically wondering how I get that thick, chunky, higher-end decorative paper chain look, I would buy the cardstock and cut the strips yourself.
There really is a noticeable difference.
For me, the extra cutting time is worth having a finished paper chain that holds its shape and looks like intentional party or seasonal decor.
Ideas for Decorating With Paper Chains
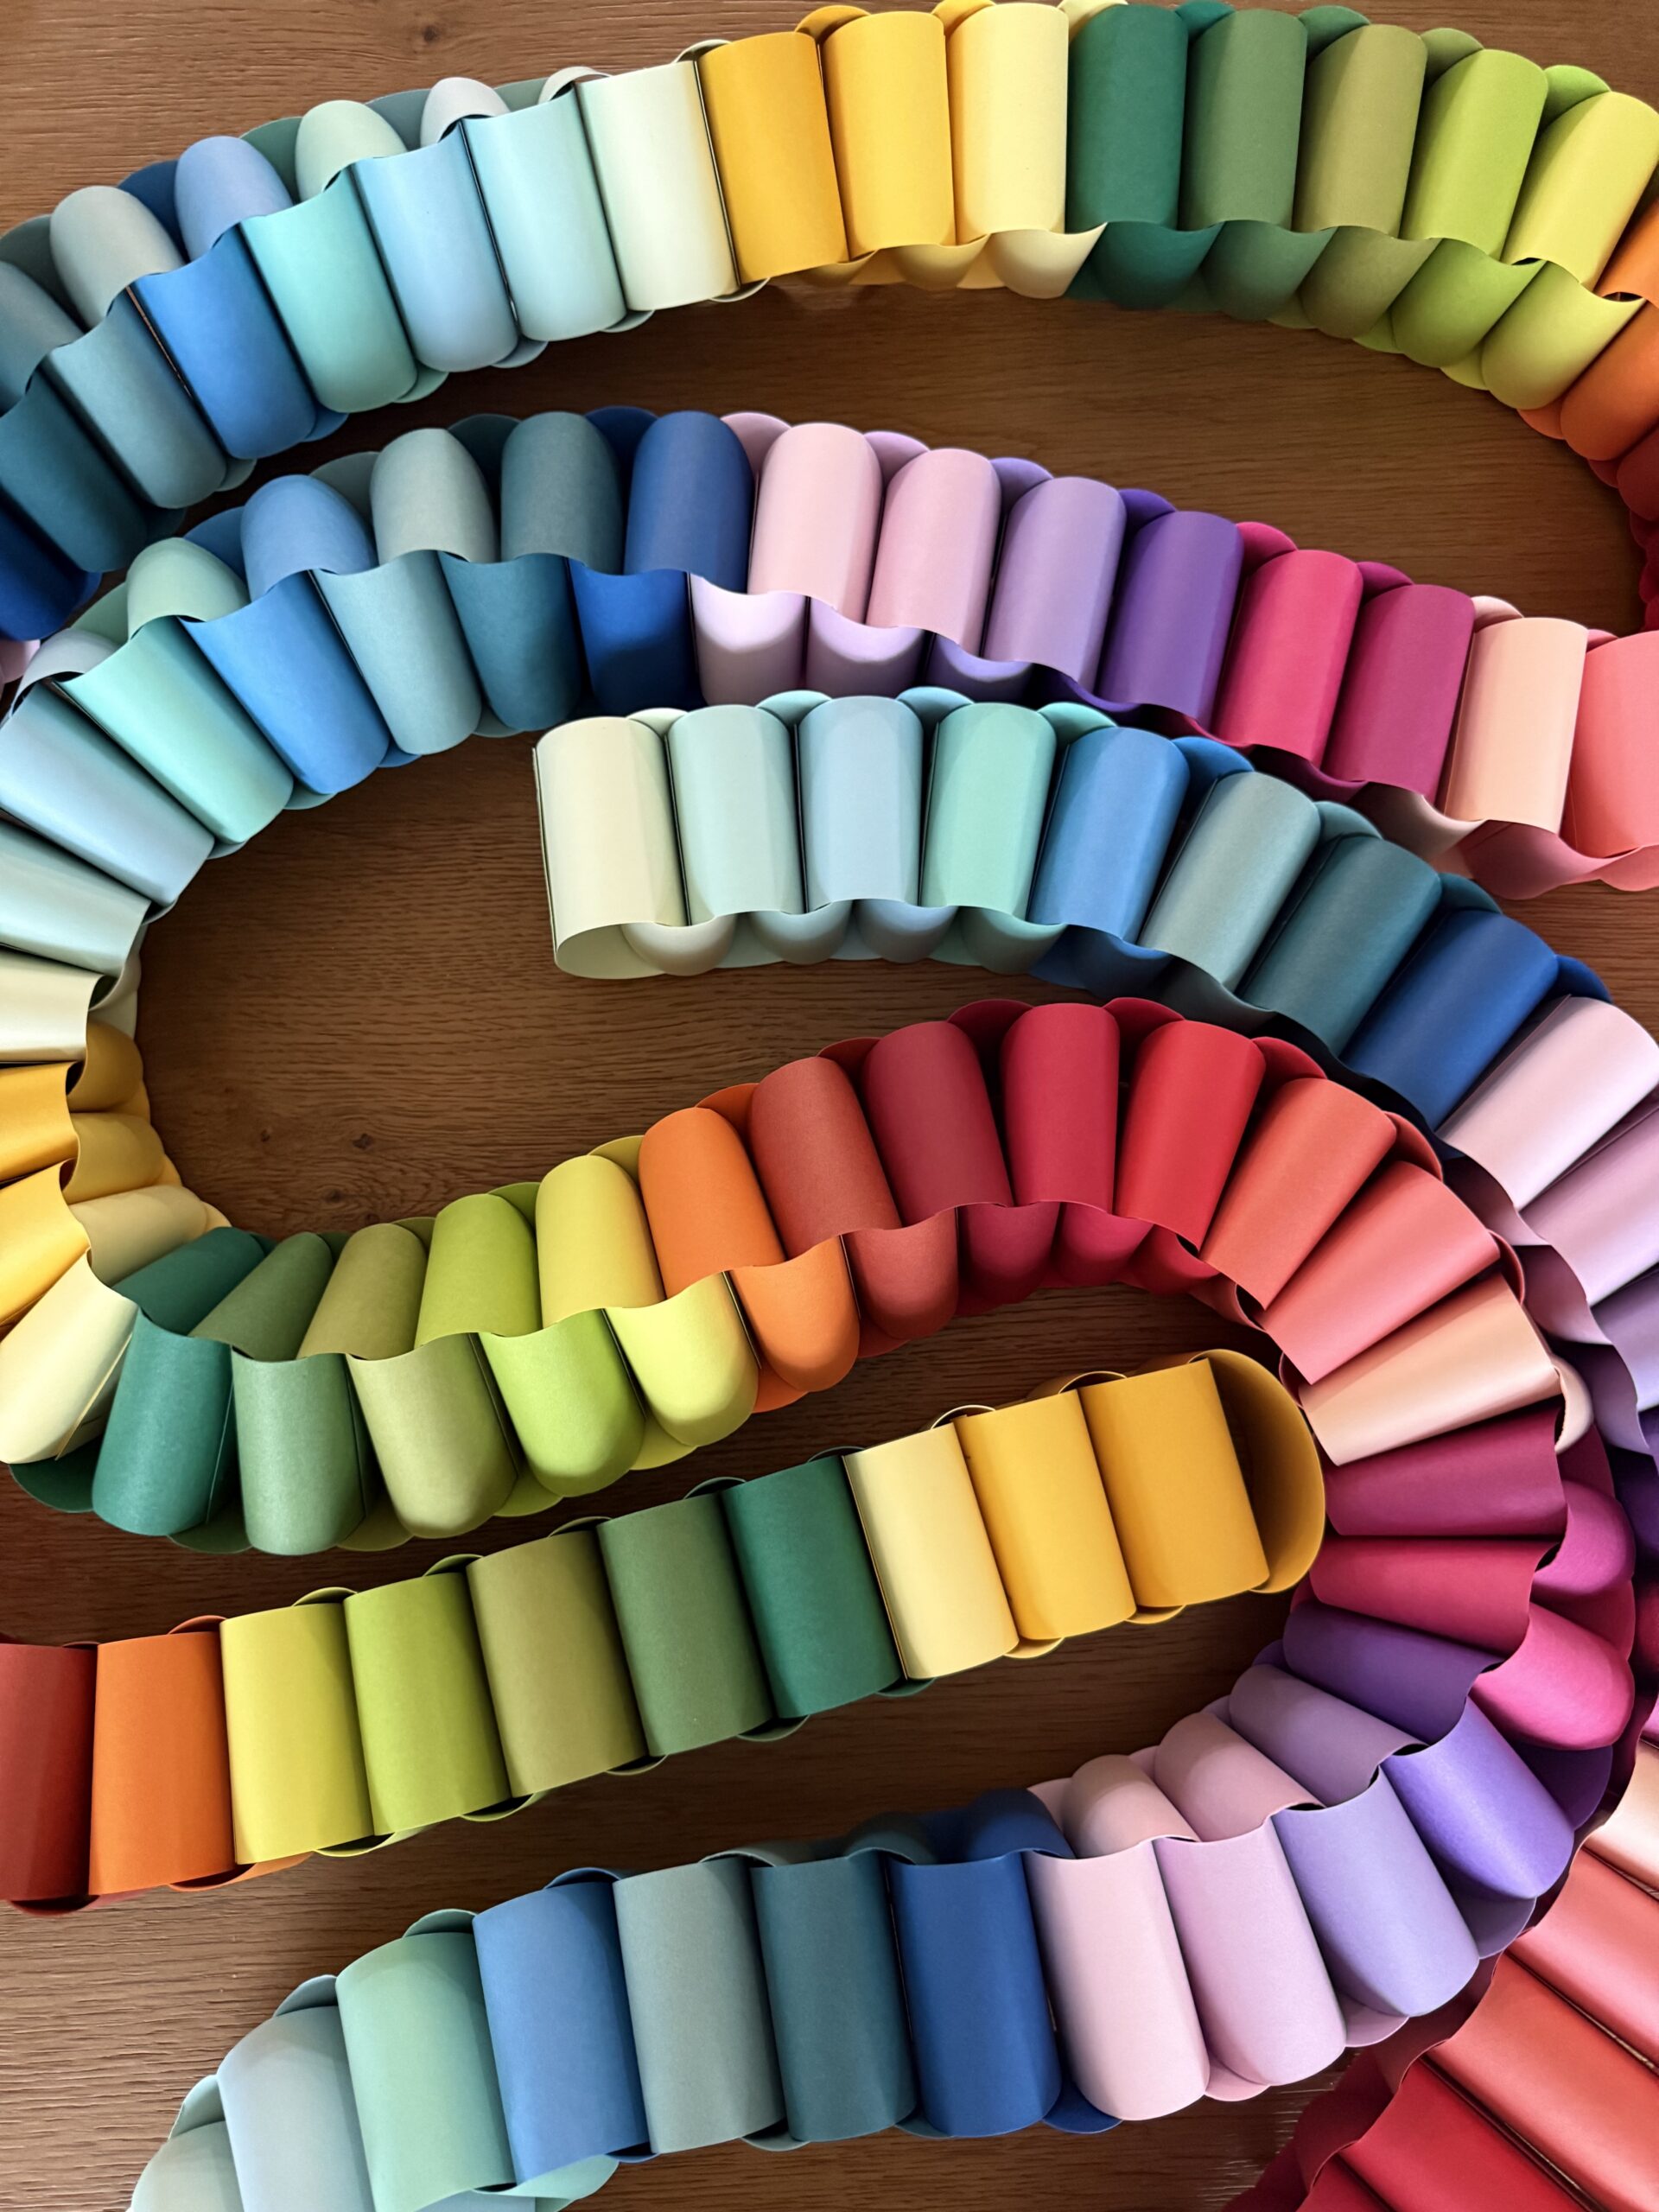
Once you start making these, you’re going to realize you can use them for EVERYTHING.
Make them for birthdays, Christmas, Halloween, Thanksgiving, Valentine’s Day, baby showers, graduation parties, classroom decor, mantels, doorways, stair railings, kids’ rooms, or just because you found a cardstock color combination you really love.
You can make a short paper chain garland for a mantel or make an absurdly long one and drape it across an entire room.
Not that I would know anything about that second option.
My Biggest Paper Chain Tips
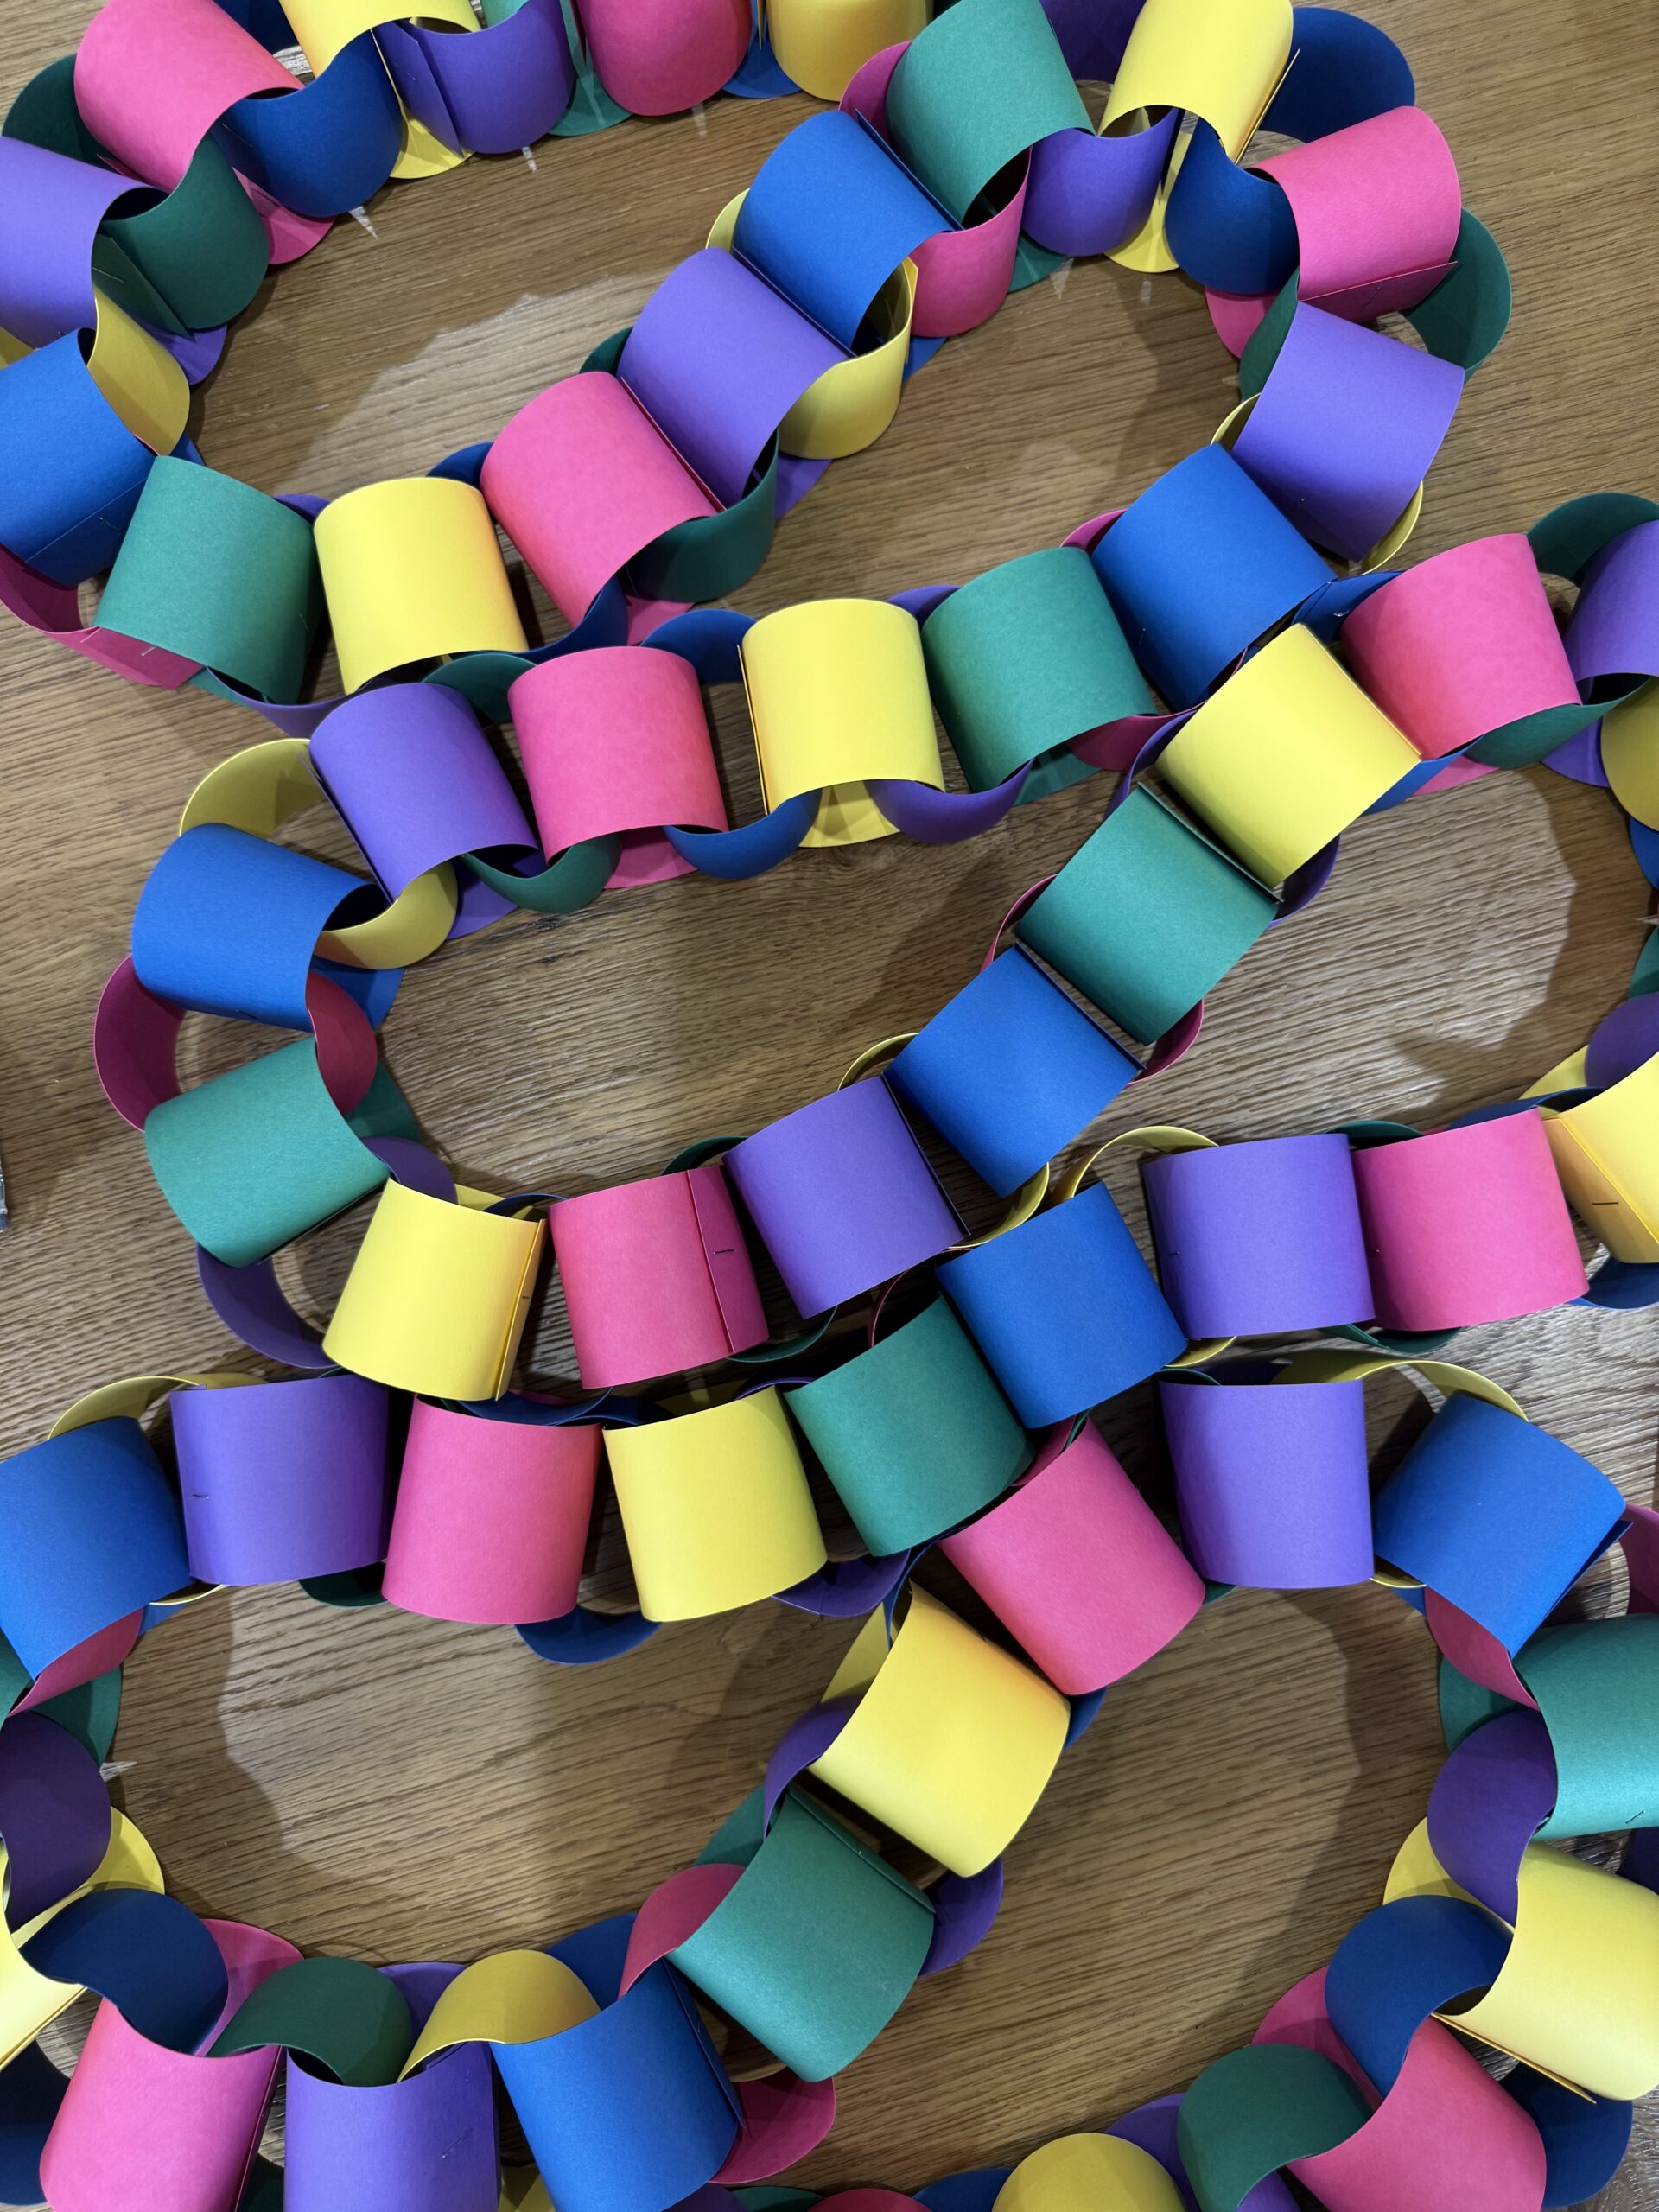
After making more paper chains than any grown man probably needs to make, here are the things I would tell you before you start:
Use quality cardstock. This is the biggest one. Better paper creates a sturdier, cleaner-looking chain.
Go wider with your strips. Stick around 2 3/4 to 3 inches wide if you want that chunky, decorative look.
Use a paper trimmer. Straight, consistent strips make the finished chain look SO much better—and it’s much faster than trying to cut everything with scissors.
Staple instead of glue. It’s quick, easy, and holds the cardstock really well.
Plan your colors first. Lay them out before you cut everything so you know you have enough of each color.
And finally…
Figure out where you’re putting it BEFORE you make a five-hour paper chain. 😂
Ready to Make Your Own?
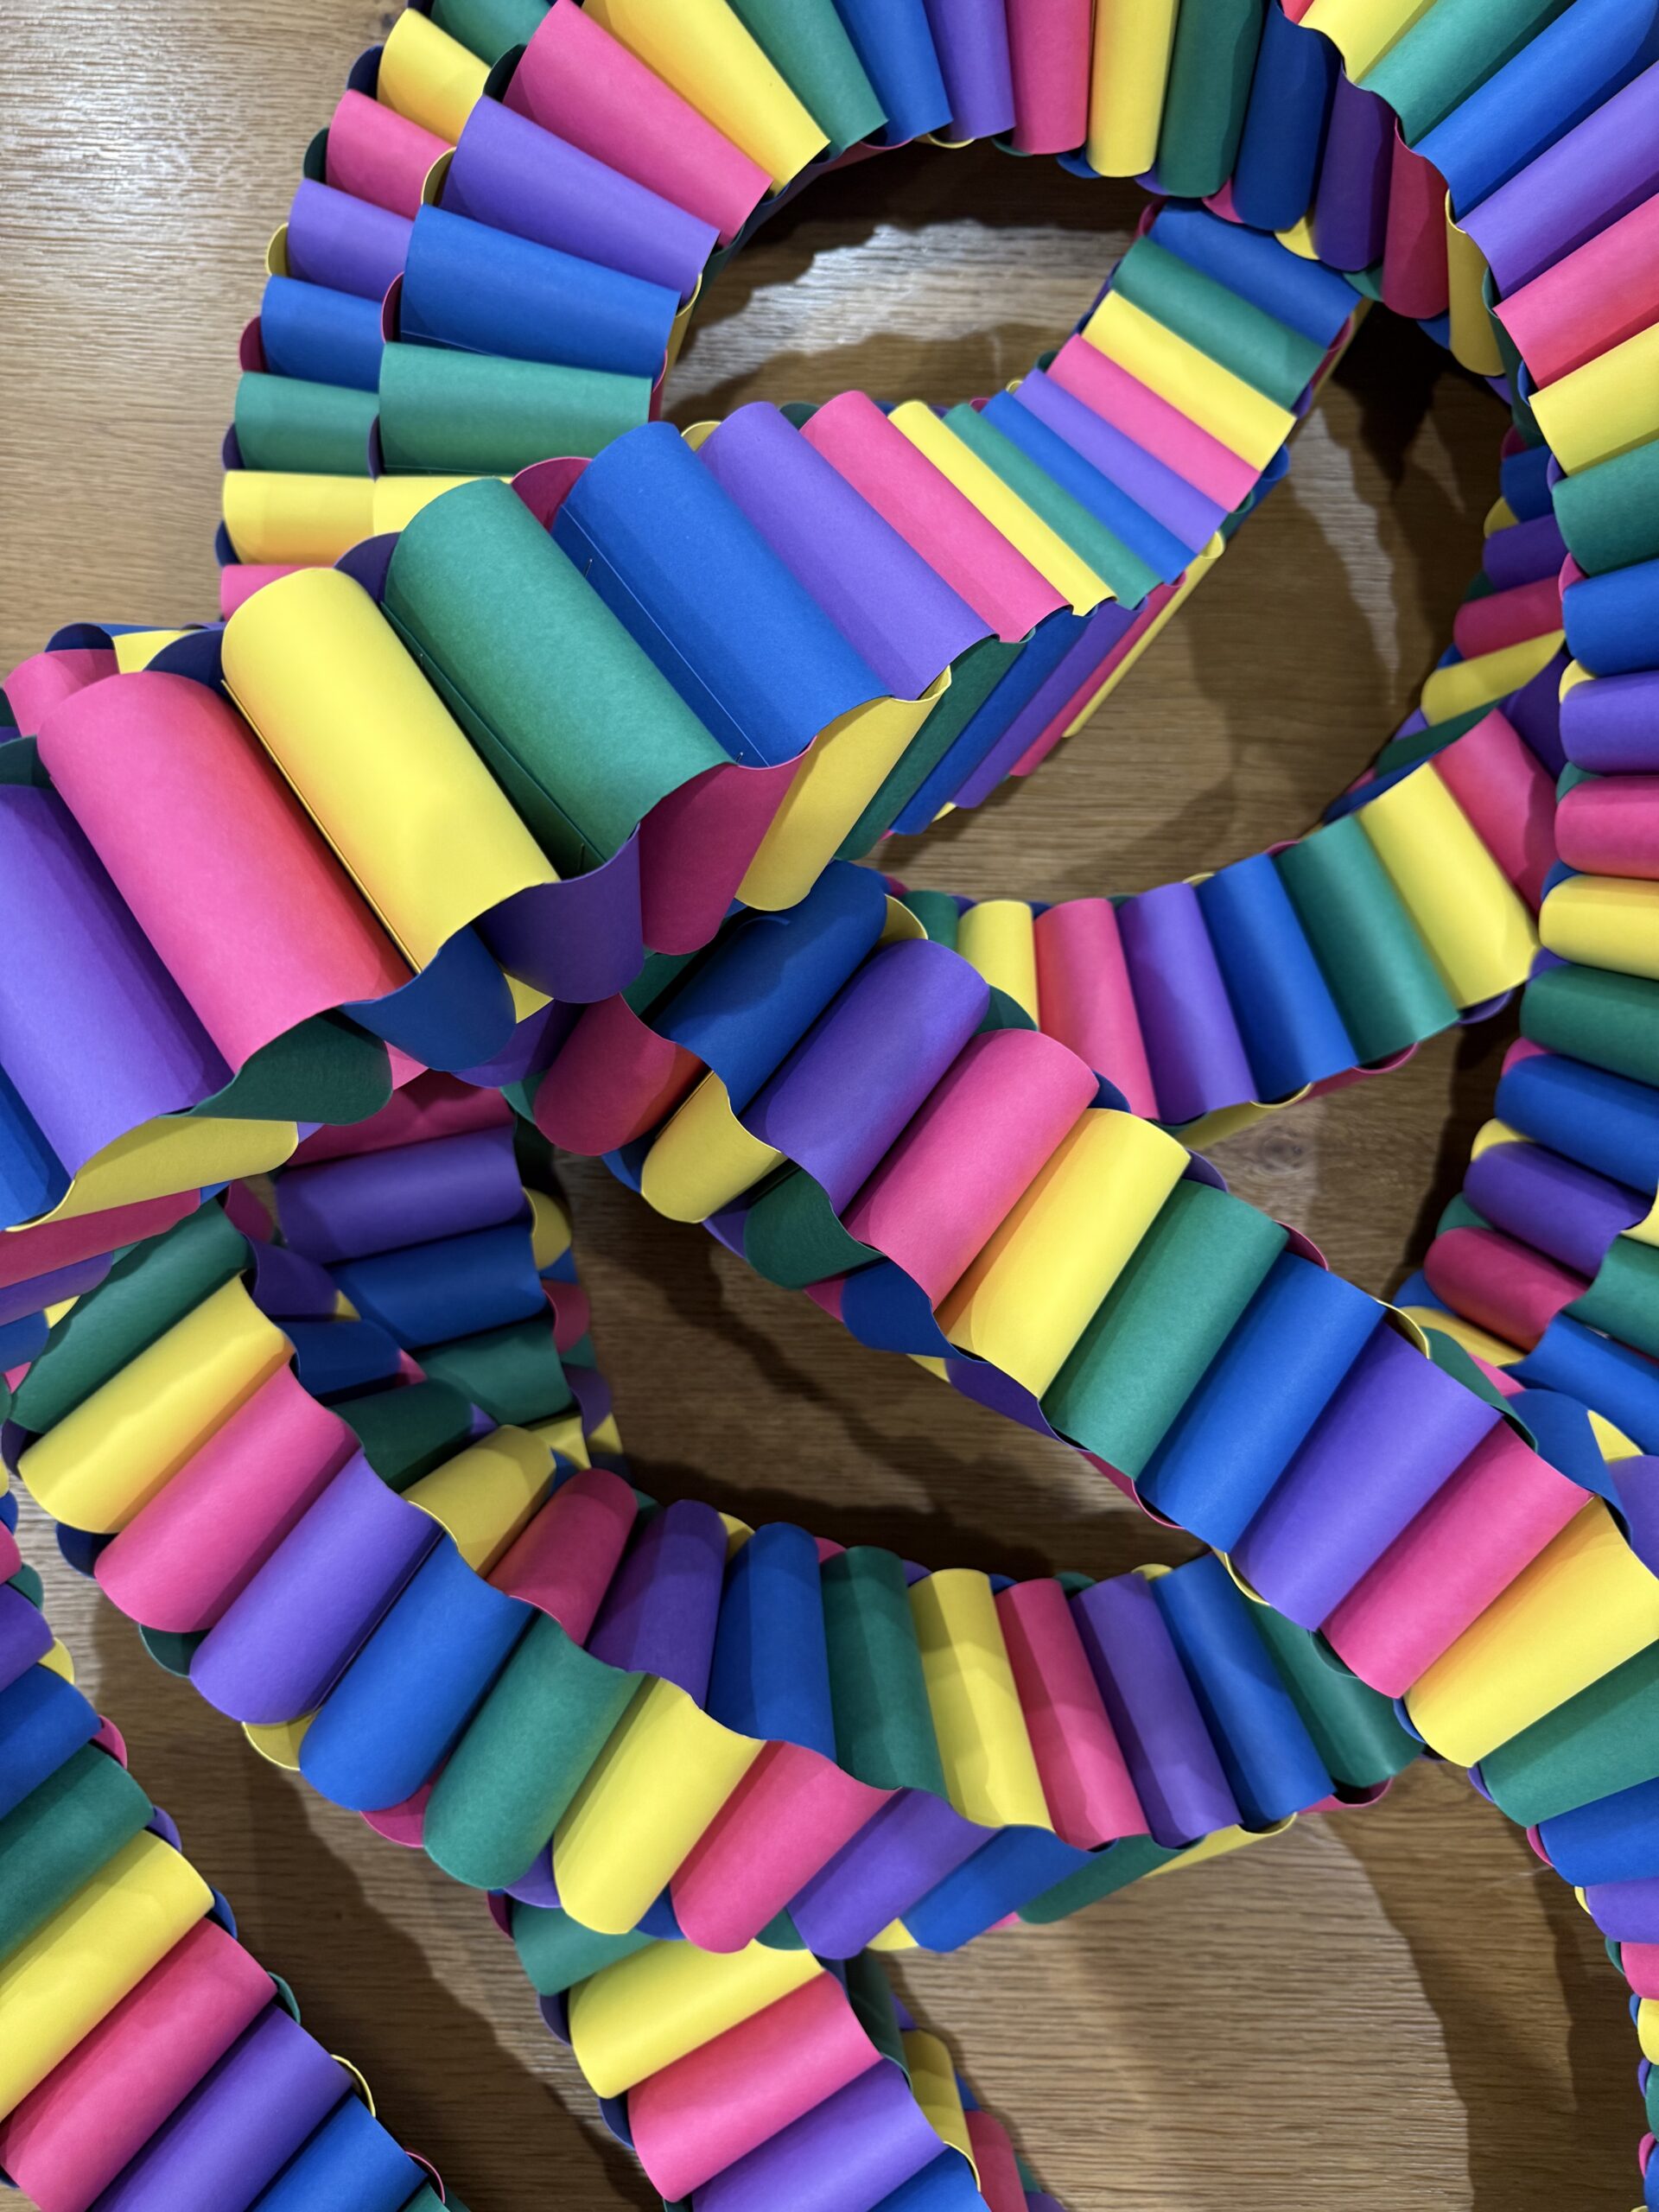
I had no idea my paper-chain era was going to become quite this serious, but here we are.
And I’m not mad about it.
They’re simple to make, you can customize them for basically any occasion, and when you use good cardstock and wider paper strips, they look completely different from the paper chains we made as kids.
So grab your cardstock, pull out your paper trimmer, put on something good to listen to, and start making some links.
Just don’t blame me when paper chains start taking over your house too. 😂

