If regular Rice Krispie treats are good, then adding homemade salted caramel obviously makes them even better. These Salted Caramel Rice Krispie Treats are gooey, buttery, sweet, a little salty, and exactly the kind of dessert that disappears way faster than you expect.
And while homemade caramel can sometimes sound a little intimidating, this version is actually really simple. You’re basically melting, stirring, pouring, and trying not to eat half of it straight from the pan. 😂
These are perfect for parties, after-school treats, neighborhood gatherings, or anytime you want to take the classic Rice Krispie treat up about ten levels.
Why You’ll Love These Salted Caramel Rice Krispie Treats
There’s nothing wrong with the classic version, but these have a few things going for them:
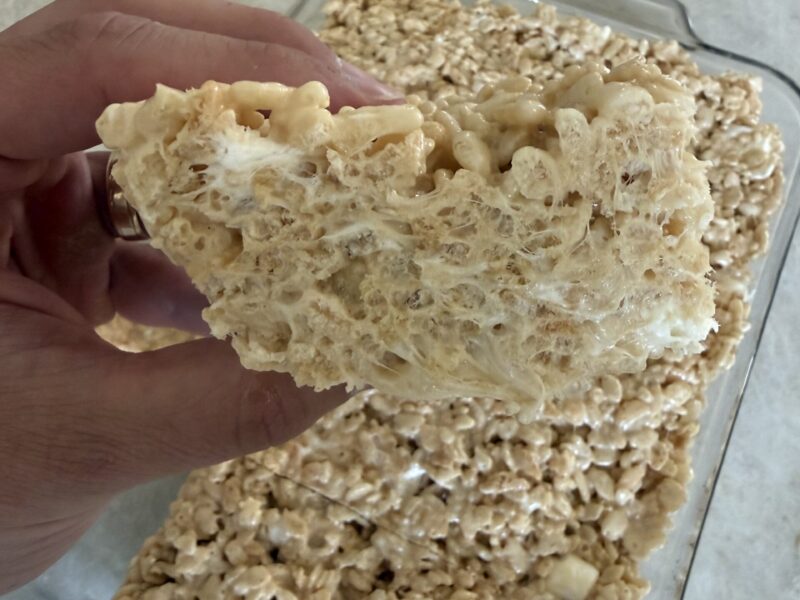
- Extra gooey thanks to plenty of marshmallows.
- Homemade caramel made with brown sugar, butter, and whipping cream.
- Sweet and salty because that combination will forever be one of the best.
- No baking required.
- Perfect for a crowd because the recipe fills a 9×13-inch pan.
Basically, they’re familiar enough that everyone loves them but different enough that people are going to ask you for the recipe.


Ingredients
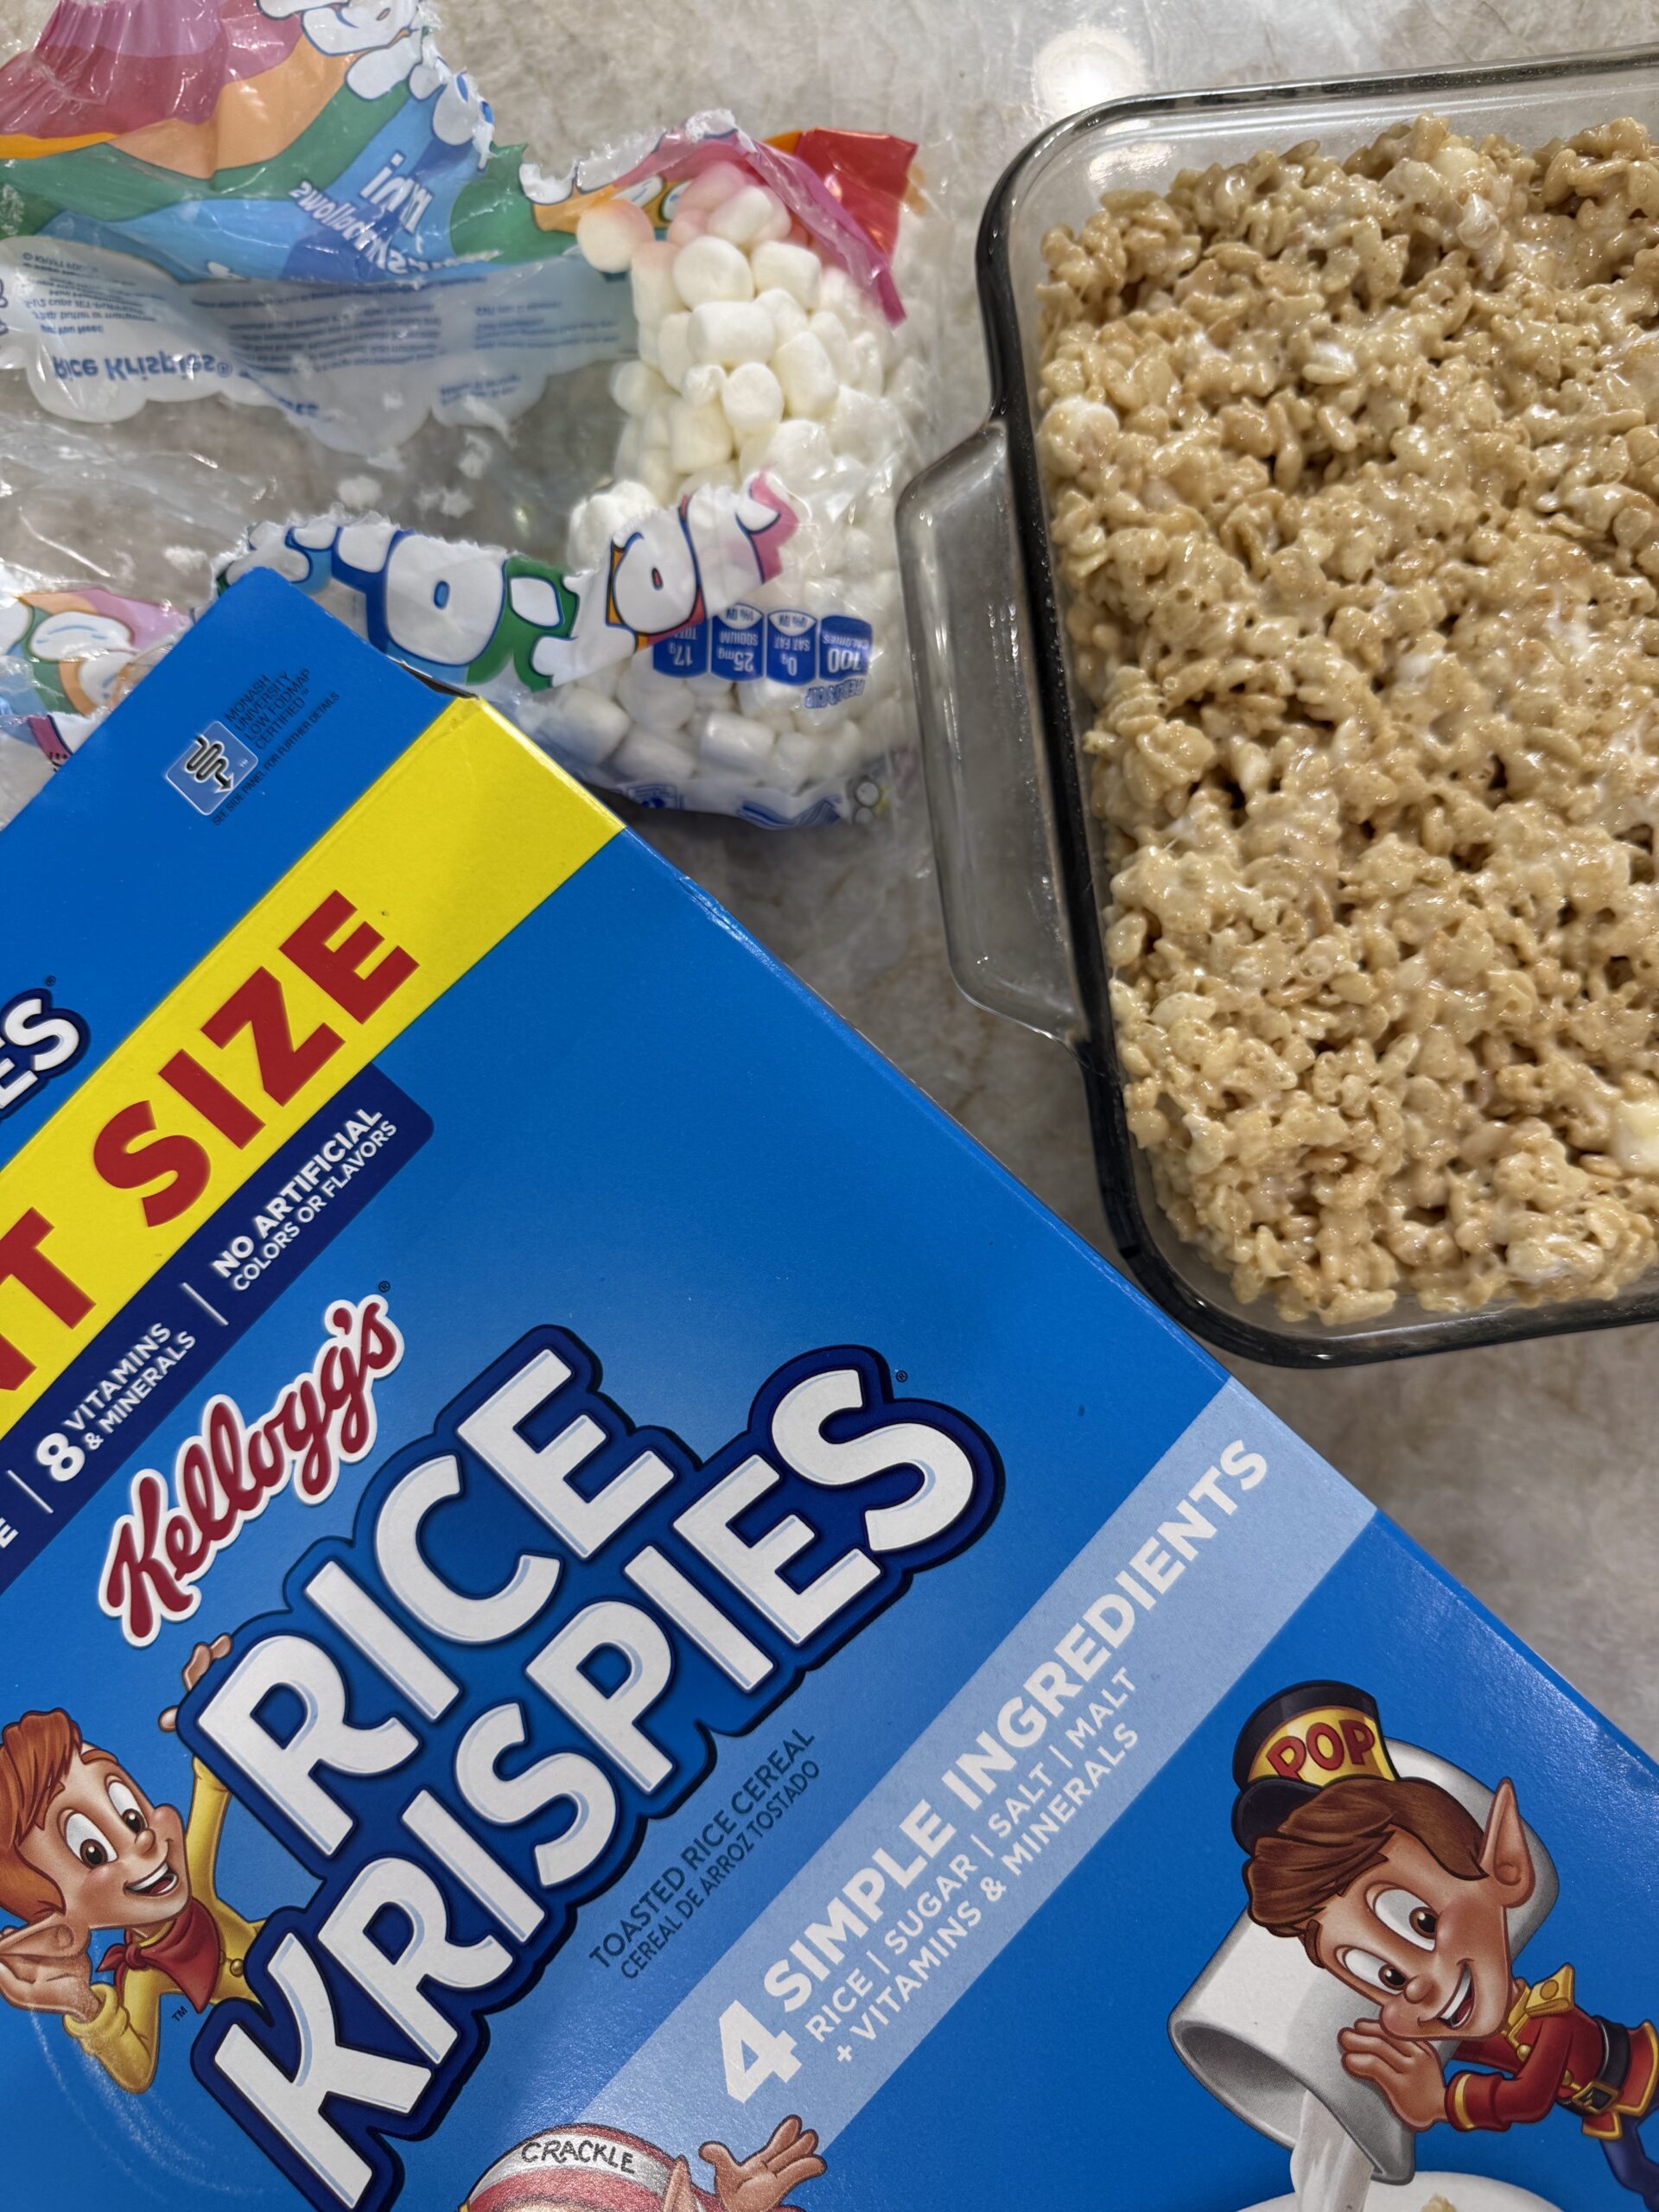
- 12 cups Rice Krispies cereal
- 2 bags mini marshmallows, divided
- 2 sticks (1 cup) butter
- 1 cup dark brown sugar
- ½ cup heavy whipping cream
- 2 tablespoons light corn syrup
- 2 teaspoons salt
Instructions
- Prepare the cereal and pan. Spray a 9x13-inch baking dish with nonstick cooking spray and set aside. Place the Rice Krispies cereal in a large heat-safe mixing bowl. Measure 1 cup of mini marshmallows from the two bags and toss those with the cereal. Set aside.
- Make the caramel mixture. Add the butter to a large saucepan or pot and melt over medium heat, stirring frequently. Once the butter has completely melted, add the dark brown sugar, heavy whipping cream, and light corn syrup. Stir everything together until combined.
- Cook the caramel. Continue cooking the mixture over medium heat for about 7 minutes, stirring frequently so the caramel doesn't scorch. As the mixture heats, it will begin to bubble and thicken. Once it begins boiling and coming together, stir in the salt. Continue cooking and stirring until the caramel is thick and syrupy.
- Add the marshmallows. Add the remaining mini marshmallows to the hot caramel mixture and remove the pot from the heat. Stir until the marshmallows are completely melted and the mixture is smooth.
- Combine everything. Immediately pour the warm caramel-marshmallow mixture over the Rice Krispies and reserved mini marshmallows. Work quickly to gently stir everything together until the cereal is completely and evenly coated.
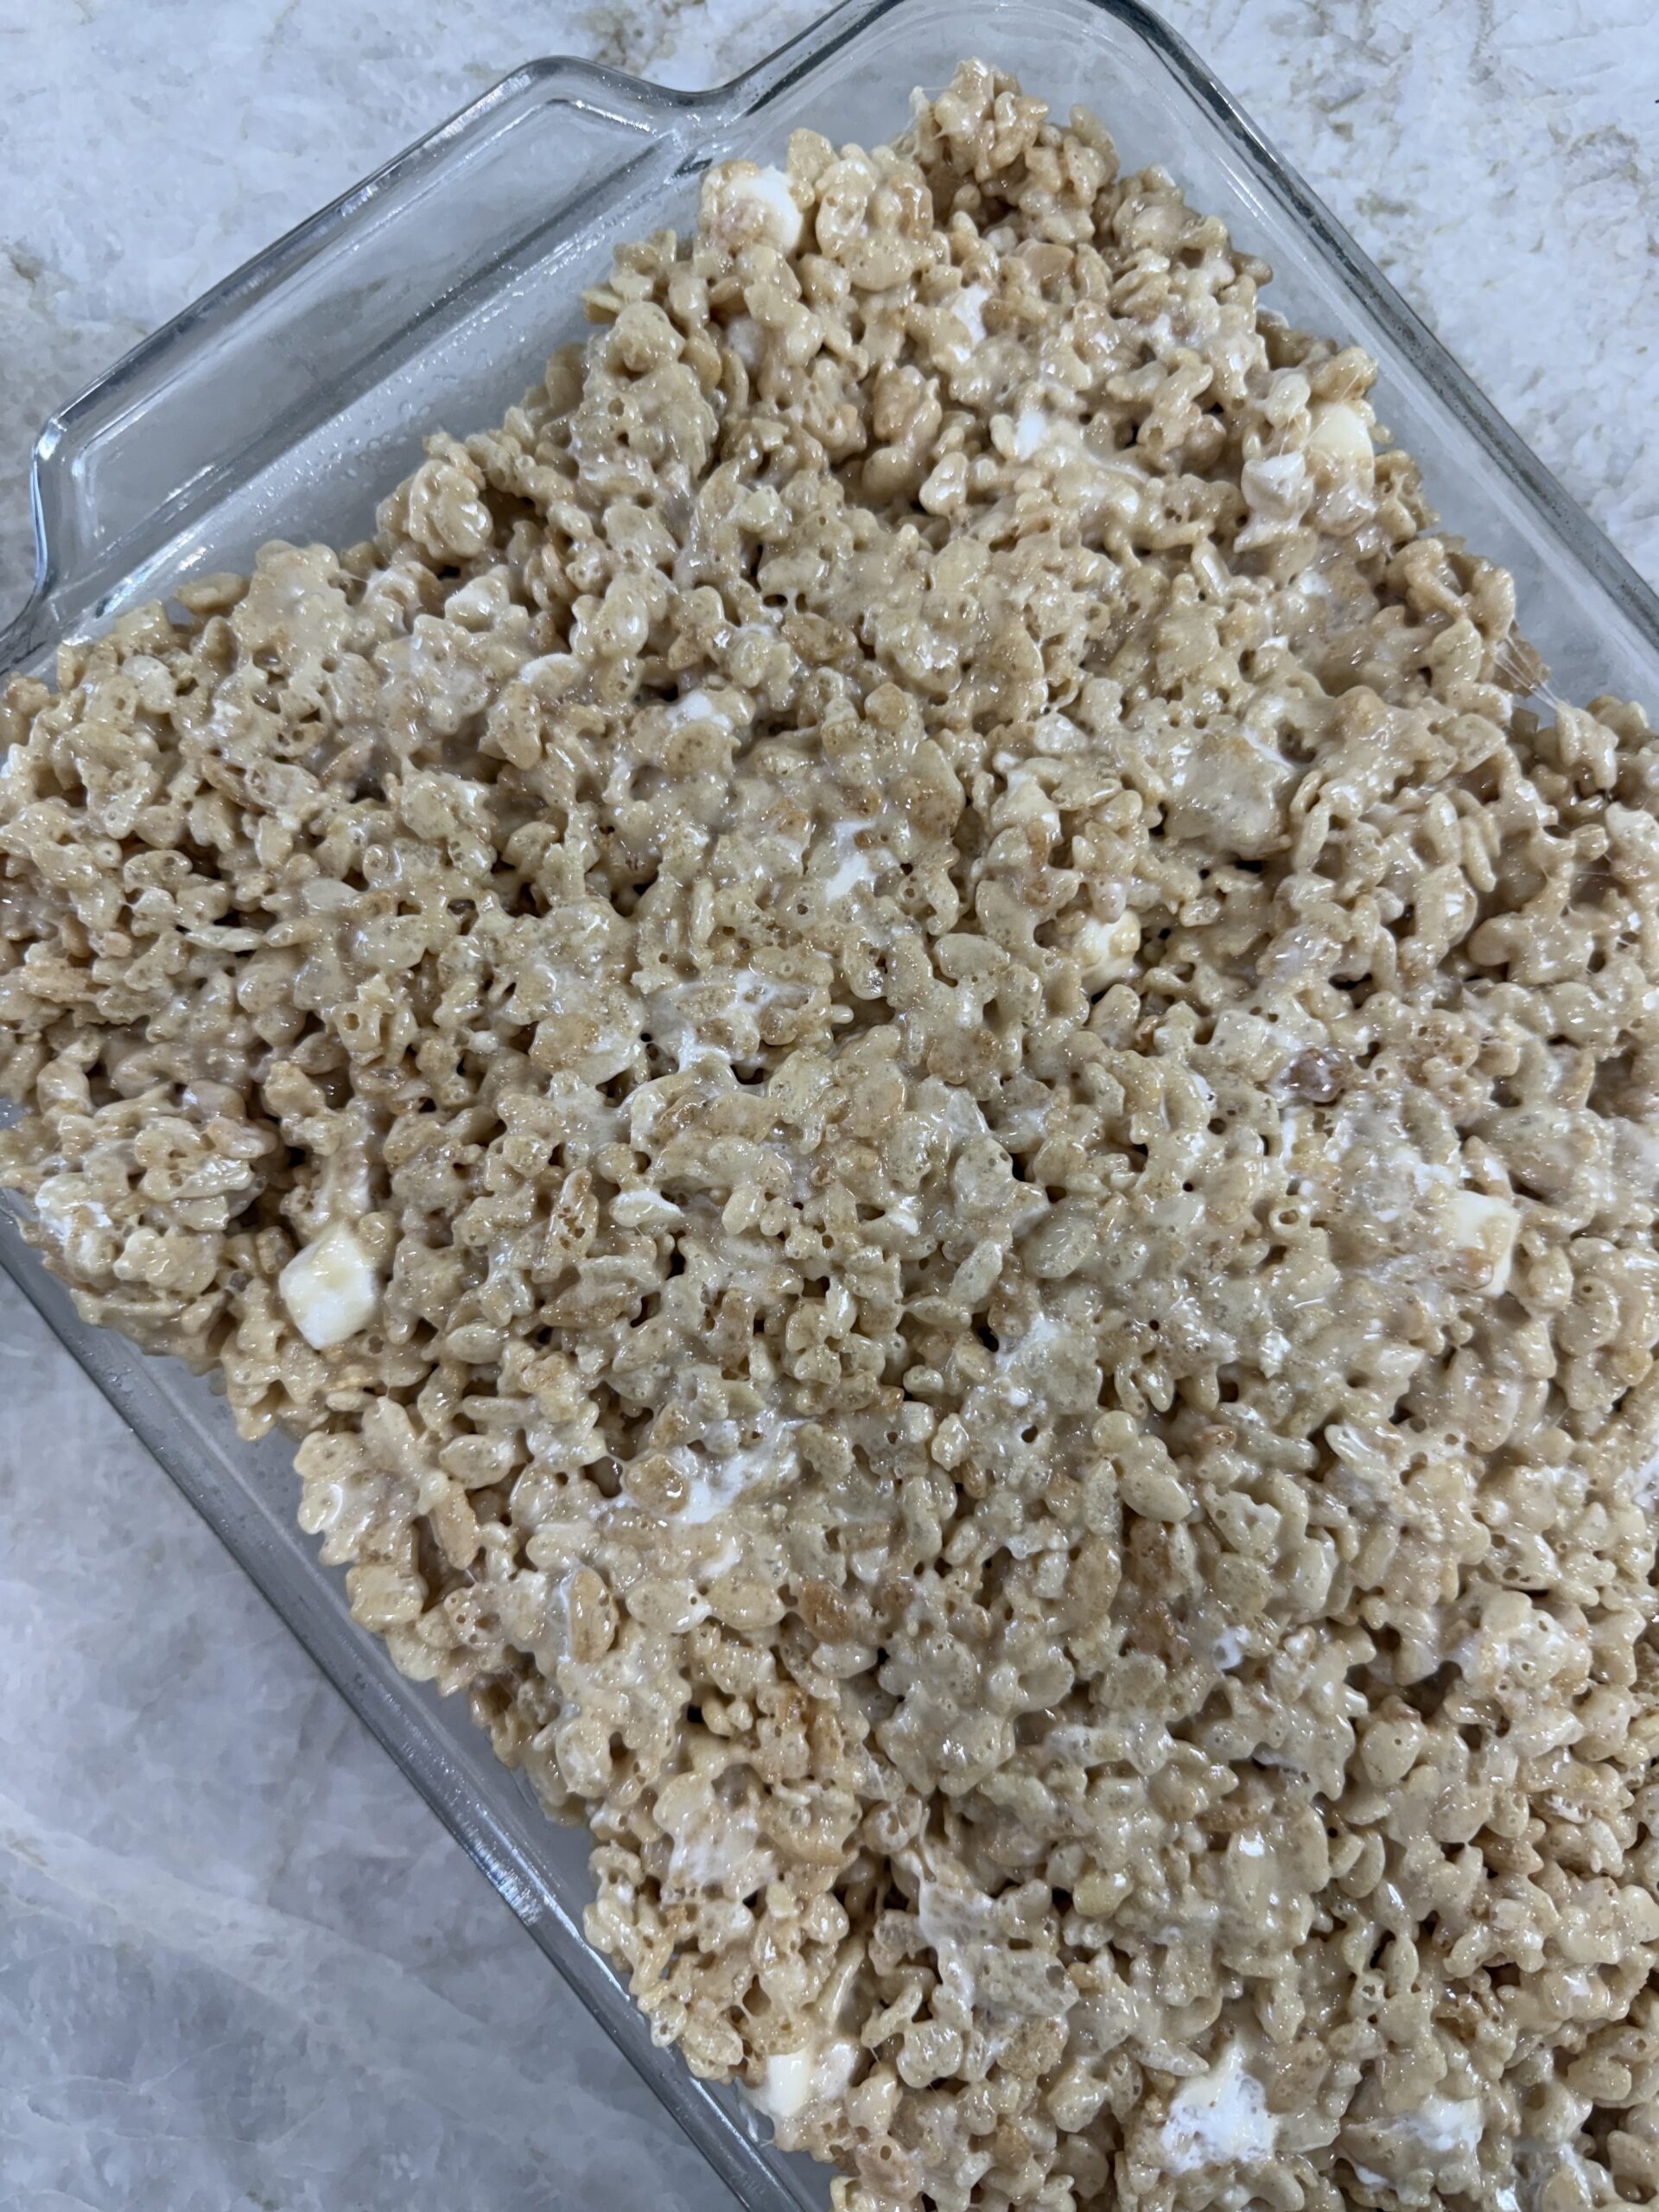
- Press into the pan. Transfer the mixture to your prepared 9x13-inch pan. Gently press the Rice Krispie mixture into an even layer. Don't pack it down too firmly—you want the treats to stay soft and chewy rather than dense.
- Cool and serve. Allow the Salted Caramel Rice Krispie Treats to cool completely before slicing into squares.
Tips for the Best Rice Krispie Treats
The biggest tip is to have everything ready before you start making the caramel. Once those marshmallows are melted, you want to get the mixture onto the cereal and into the pan pretty quickly.
Also, don’t press the treats too firmly into your pan. A light hand keeps them soft, chewy, and gooey.
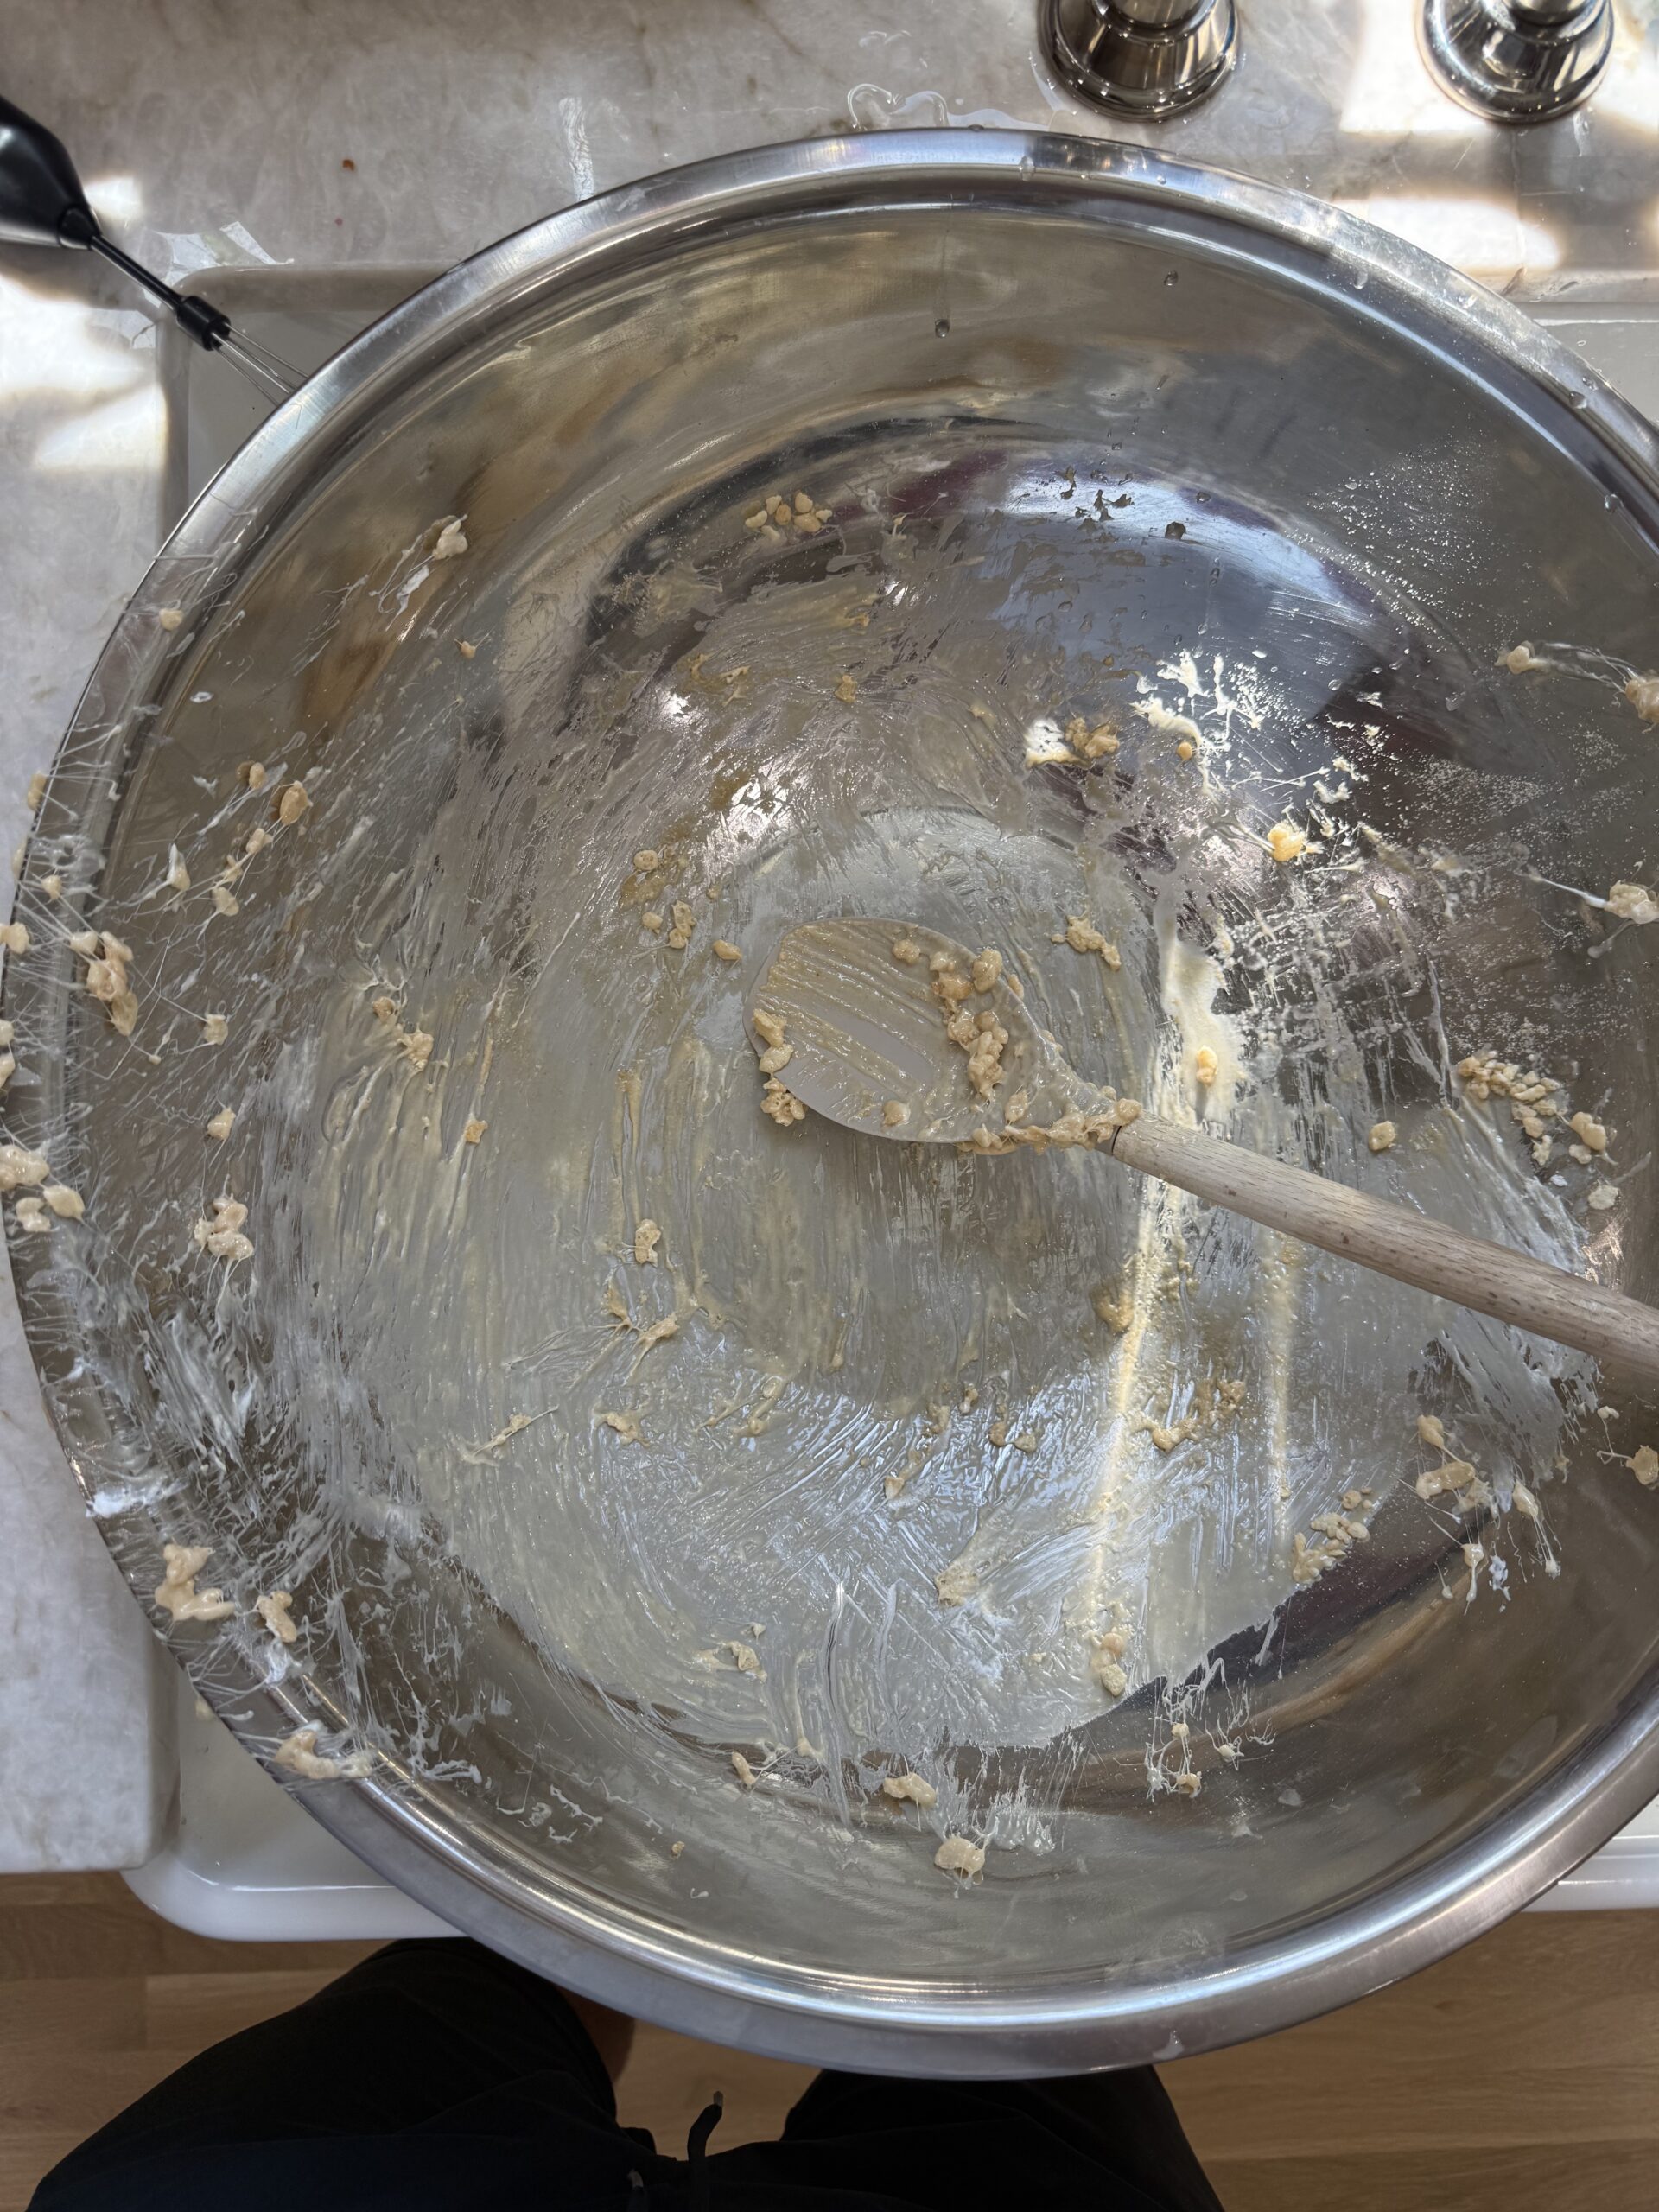
And yes, the recipe calls for two teaspoons of salt. Remember, these are salted caramel Rice Krispie treats. That little salty bite helps balance all that brown sugar, caramel, and marshmallow sweetness.
How to Store Them
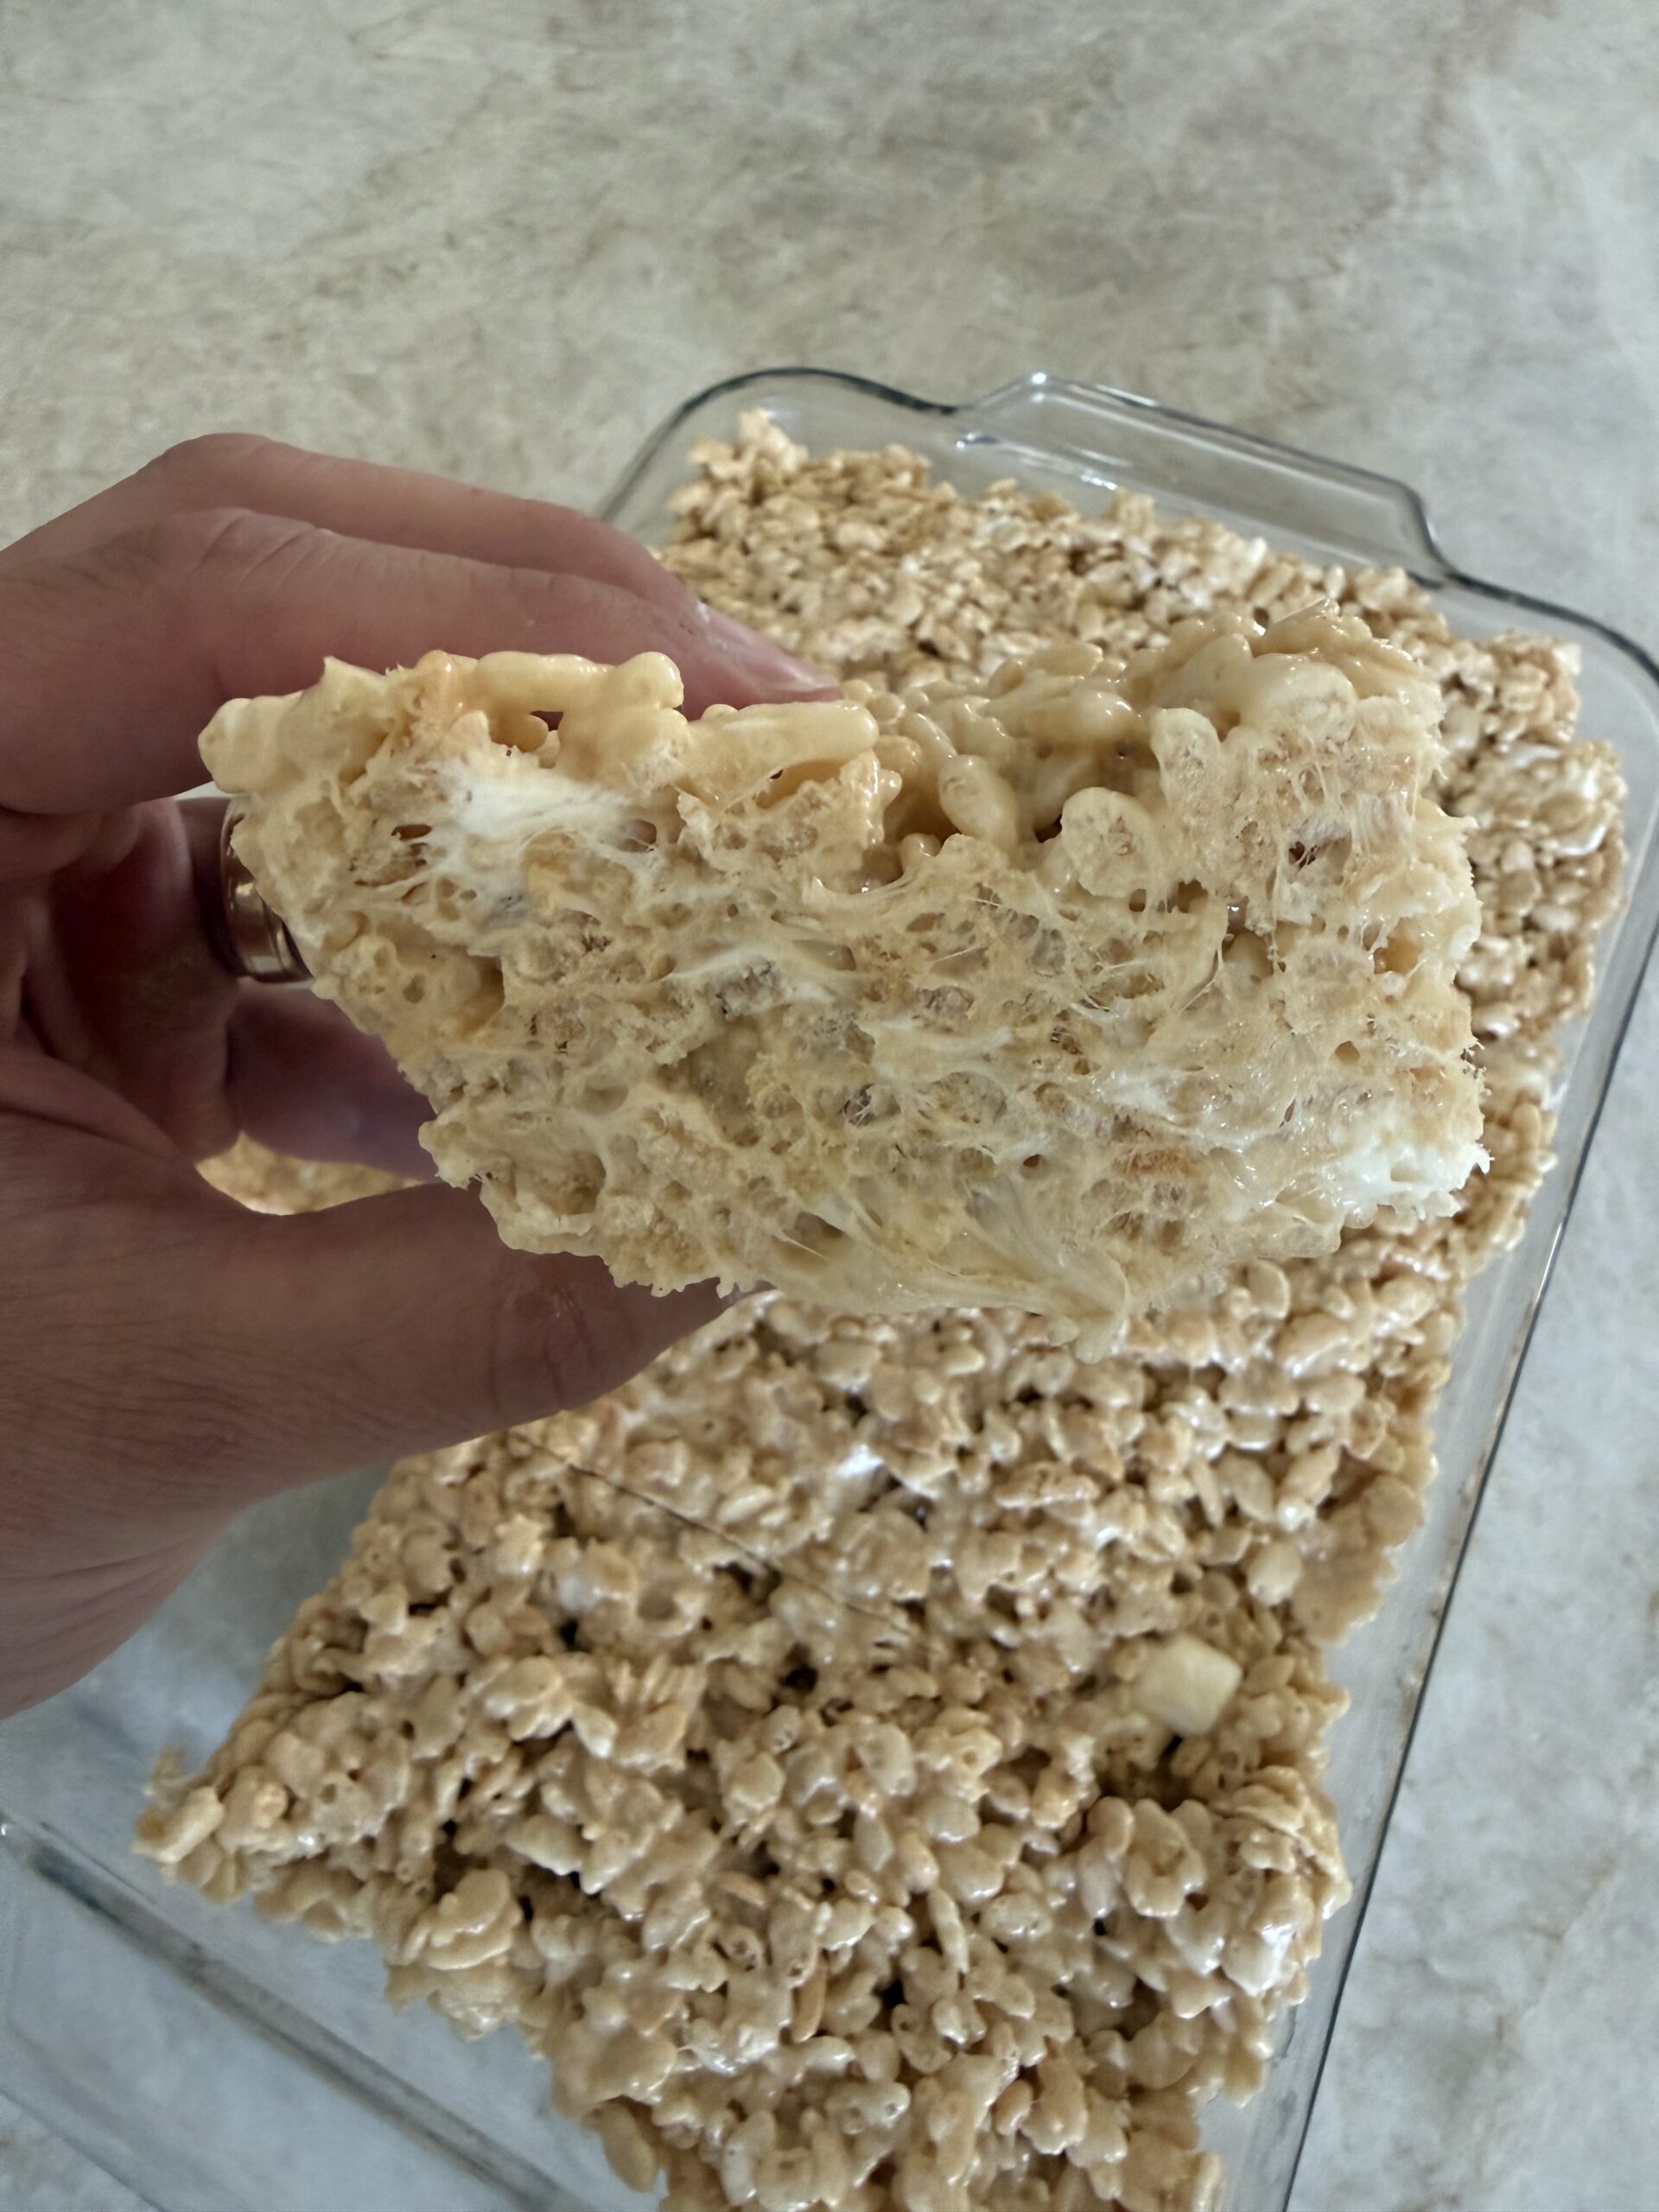
Store your Rice Krispie treats in an airtight container at room temperature. For the best texture, I like them within the first couple of days—although I’m not sure we’ve ever had a batch survive long enough for storage to become a real issue.
An Easy Dessert Everyone Will Love
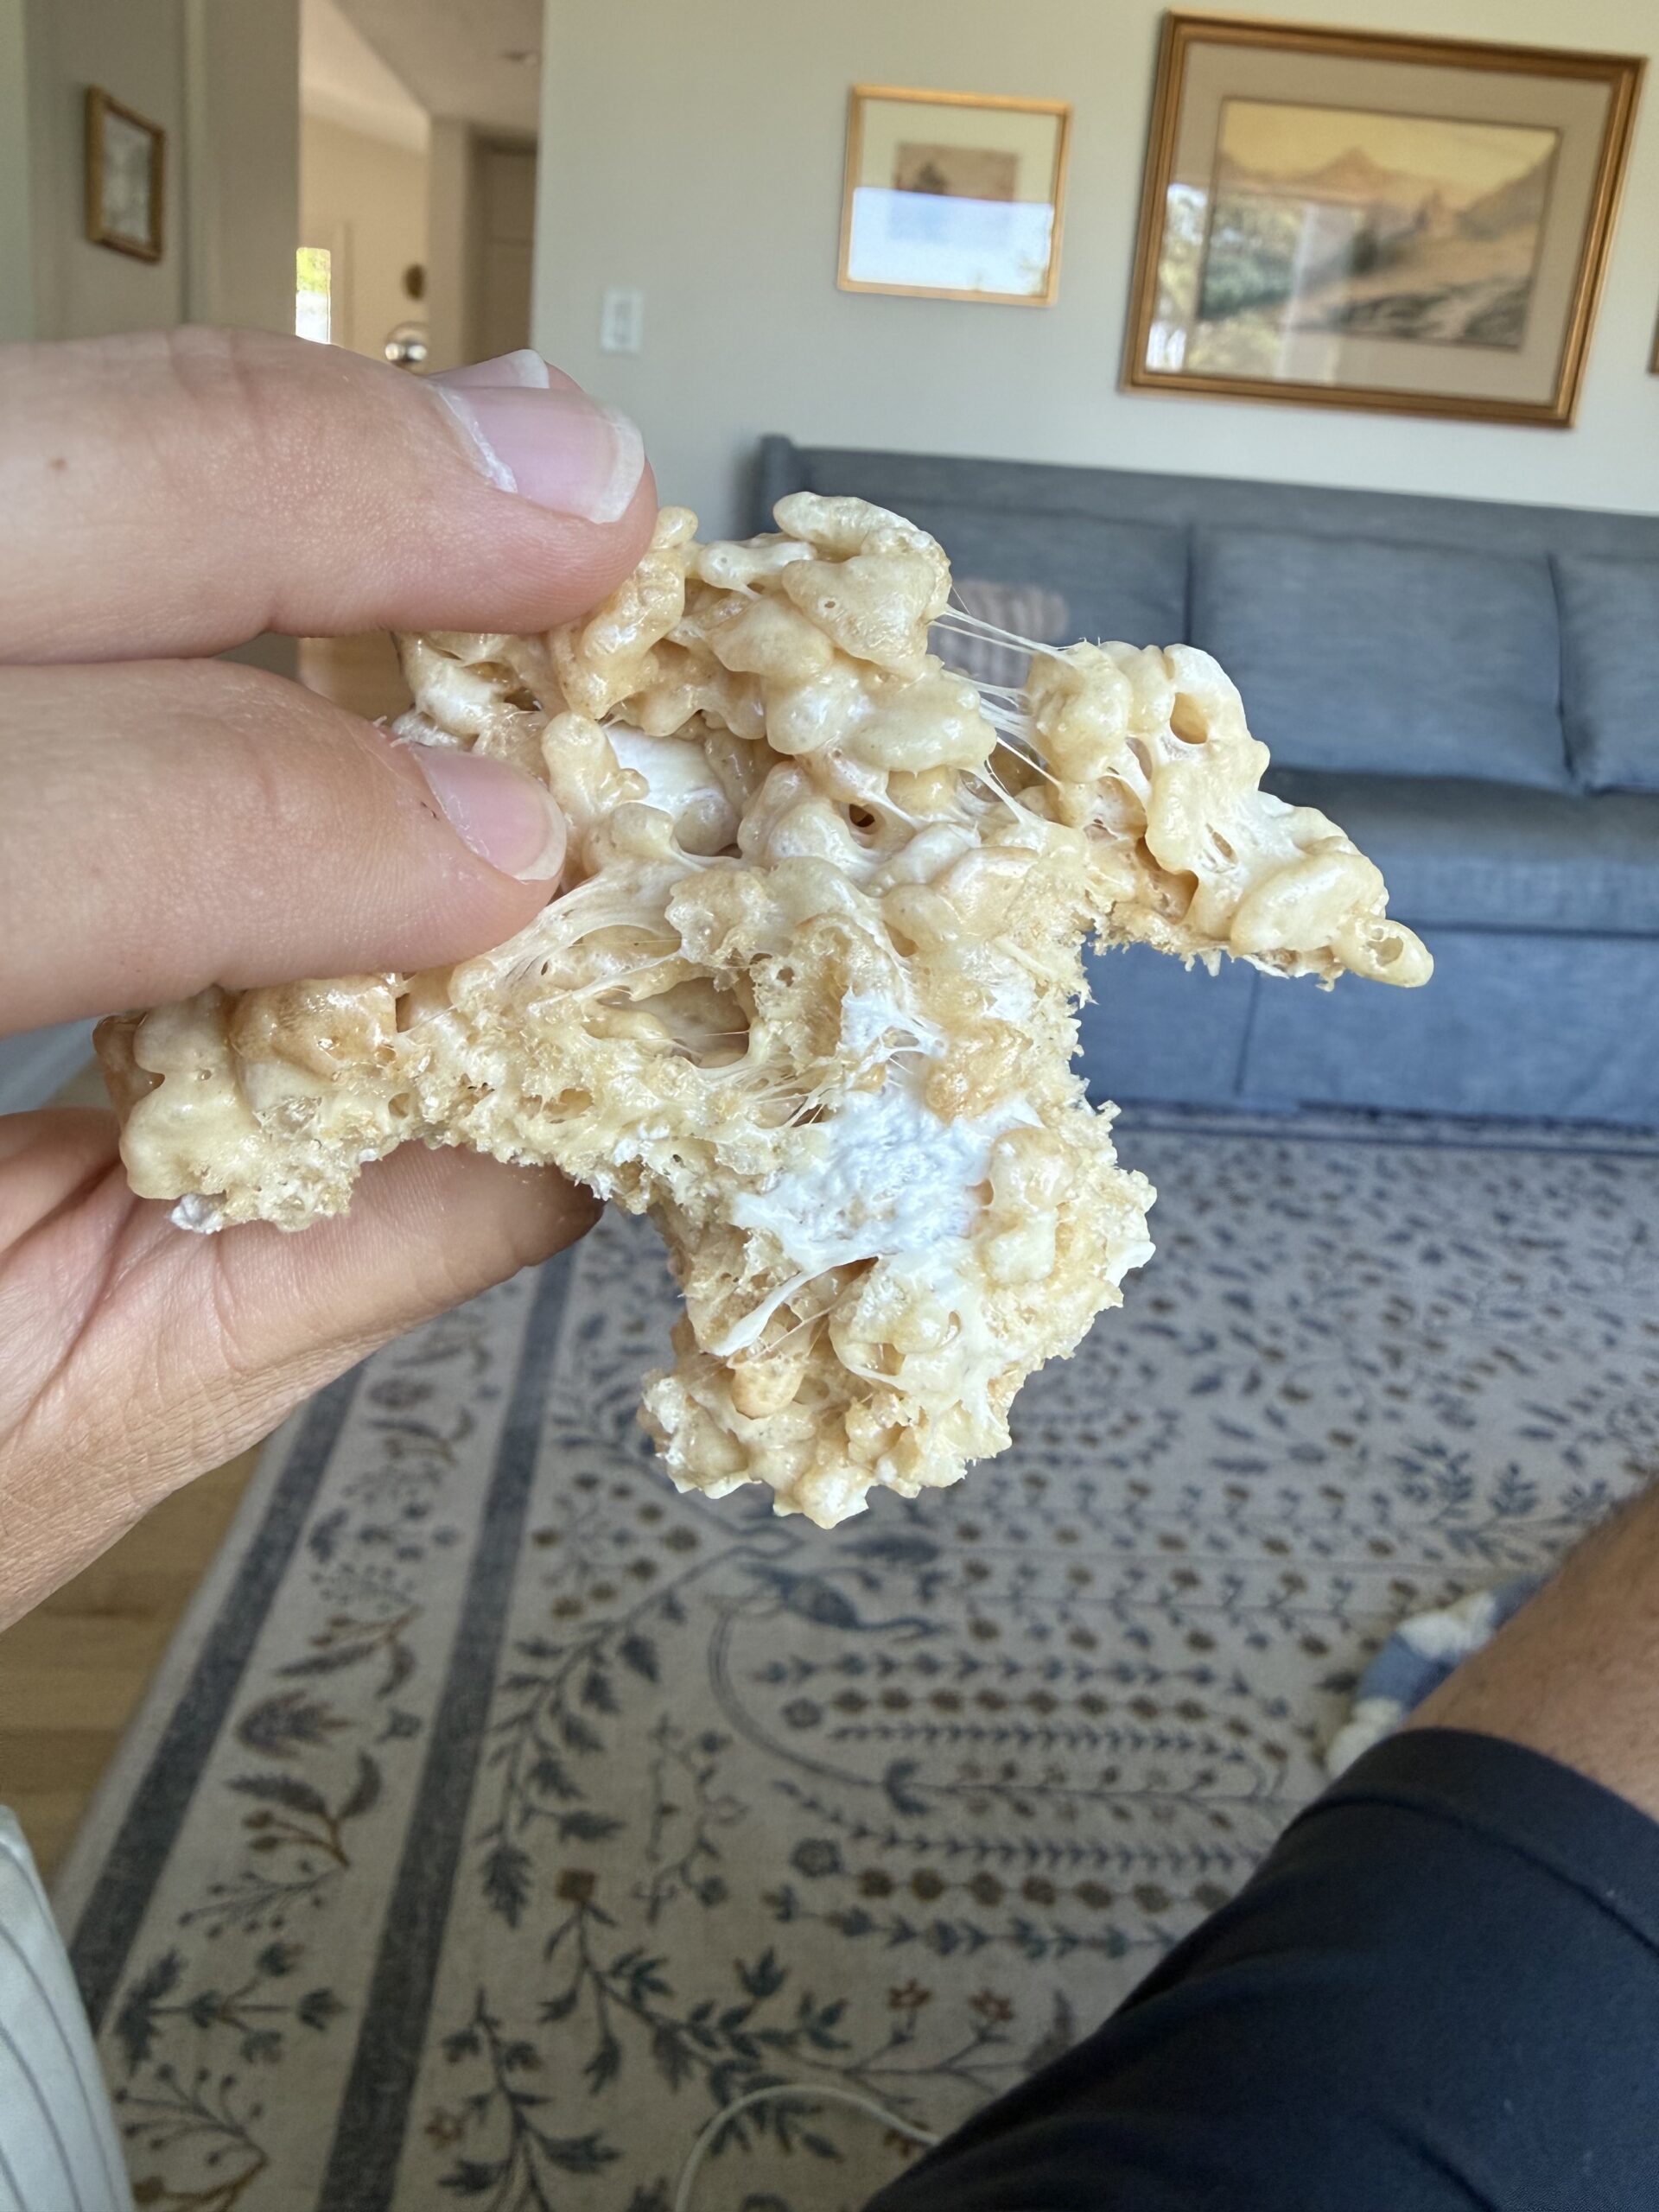
This is exactly my kind of recipe. It takes something everybody already knows and loves and gives it a little upgrade.
You still get that nostalgic, gooey Rice Krispie treat, but the buttery homemade caramel and salt make these feel like an entirely different dessert.
Make them for your kids. Make them for a party. Make them for your neighbors.
Or make them for yourself and hide them from everyone else.
I support that too.